


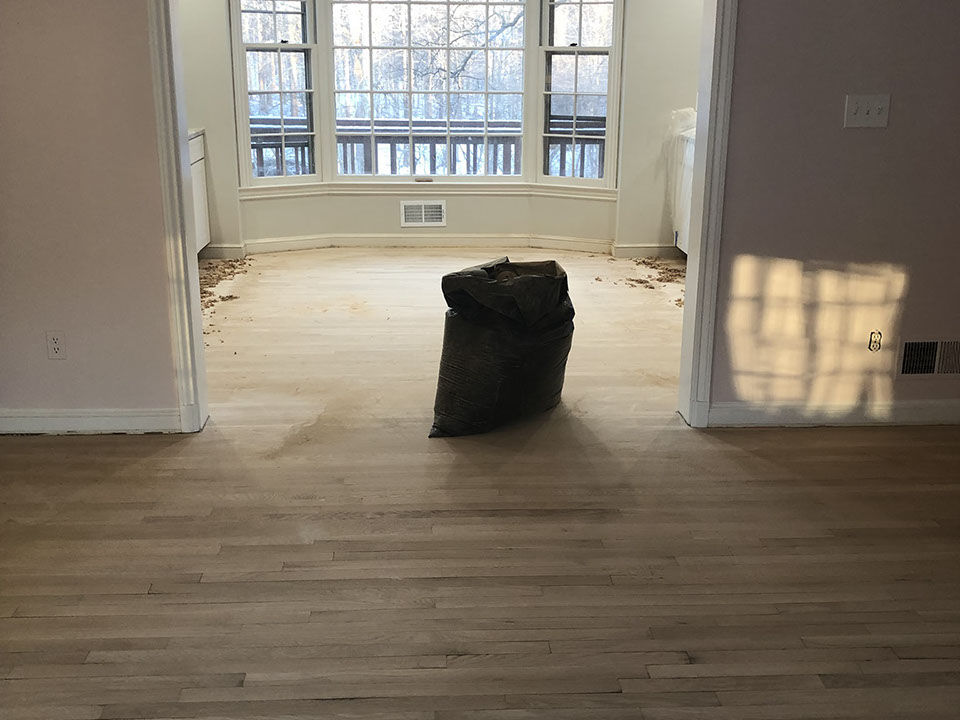


Prepping the job
The picture does not reveal the water damage caused by leak. This floor is actually buckled, the entire floor had to be replaced
The damaged floor including the sub floor was replaced with unfinished hardwood. The enter floor and to sanded and finished.
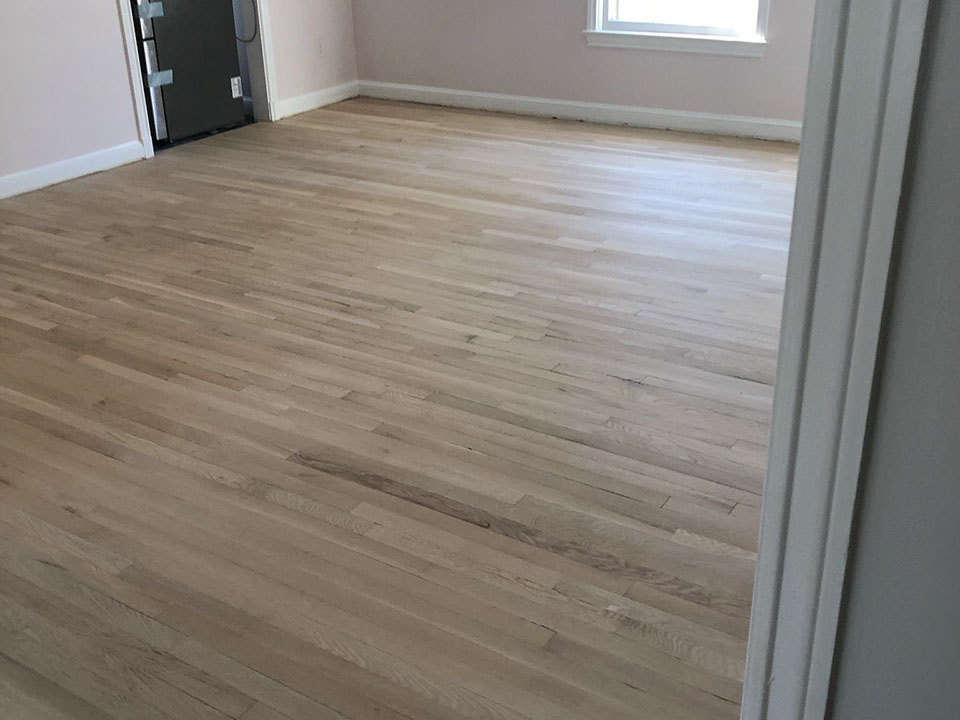
The new unfinished sanded hardwood as you will see in the next few pictures
Part of the new Sub floor
Applying the stain (Natural) as you will see in the next few pictures.
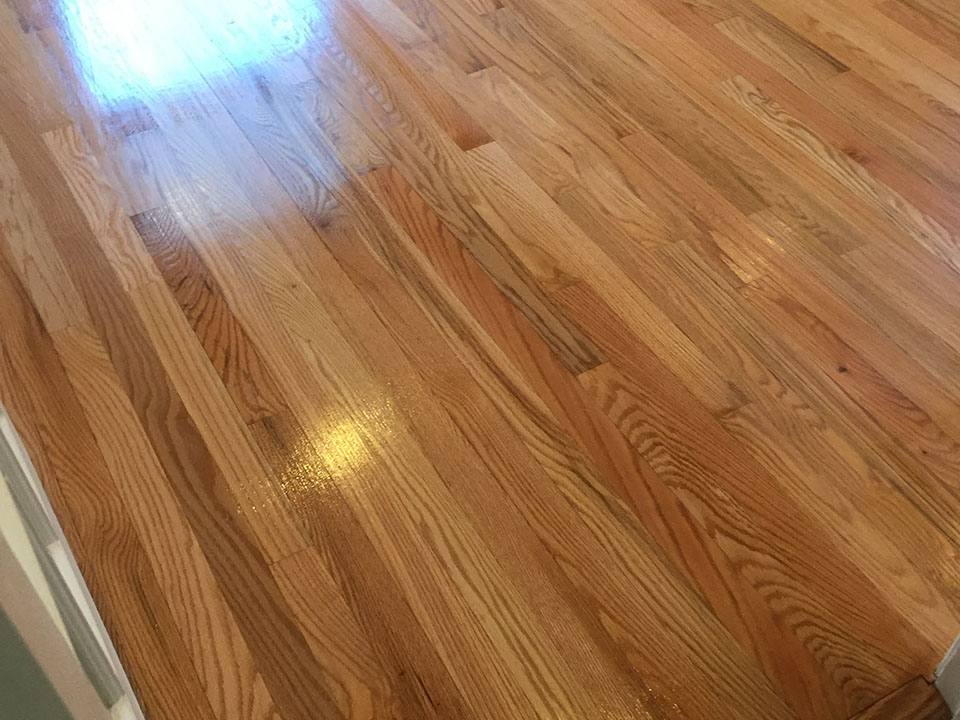
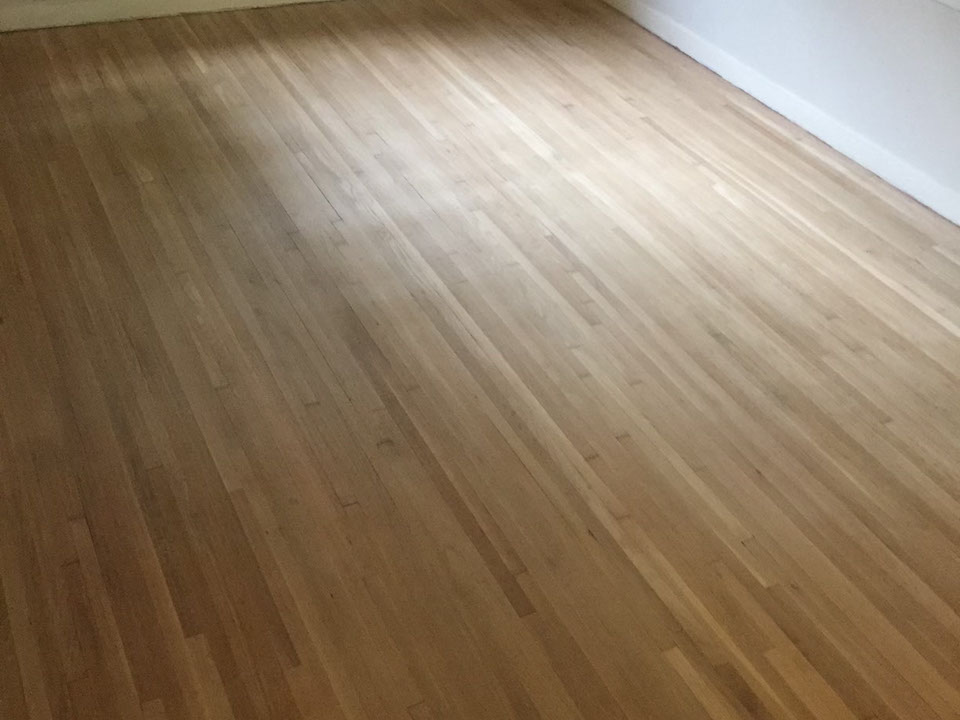
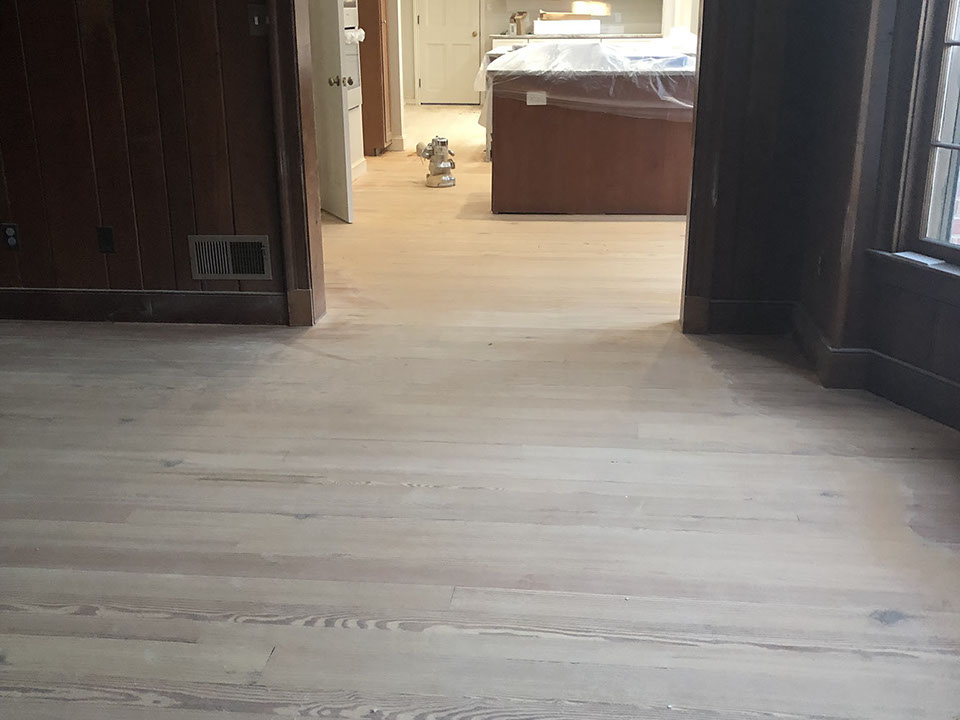
After we applied the stain (Natural)
Nothing thing like natural
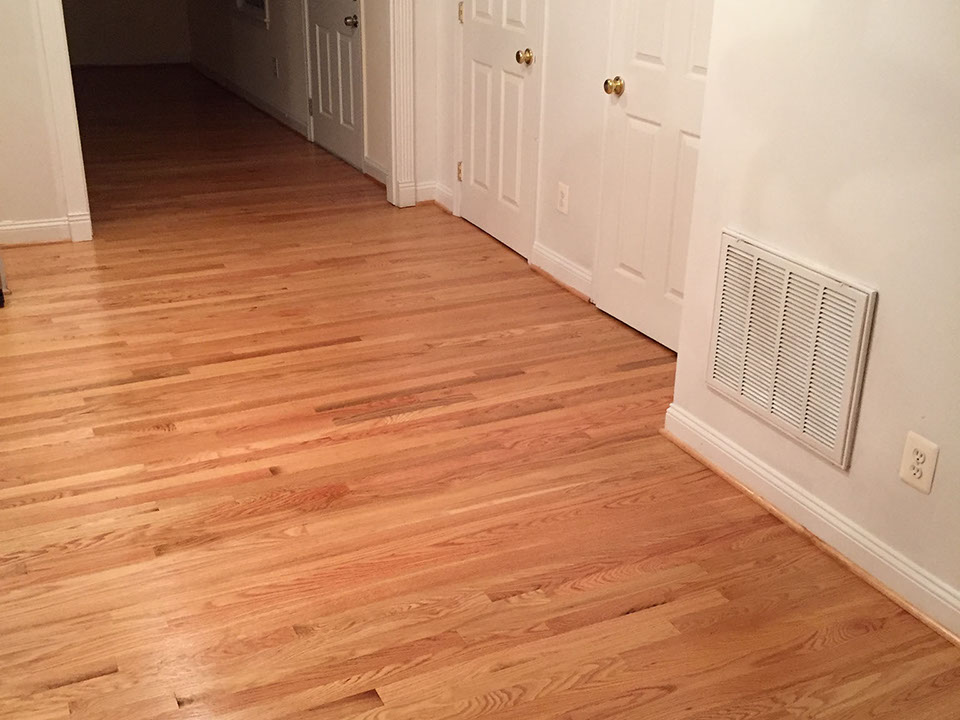
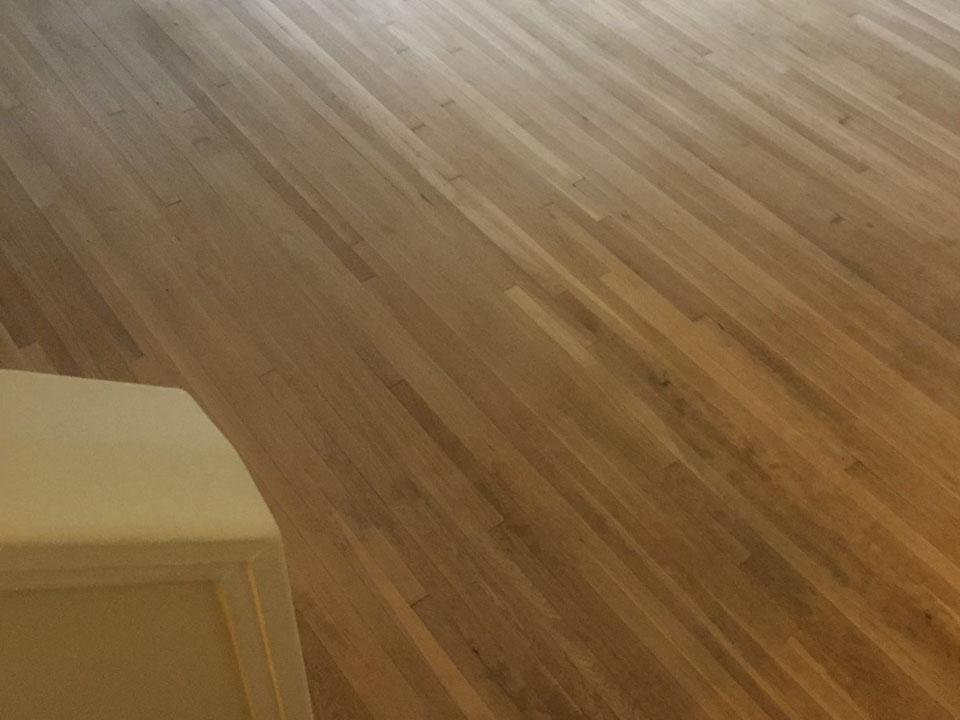
The beauty of Natural Hardwood.
It came out nice!
Less is more.
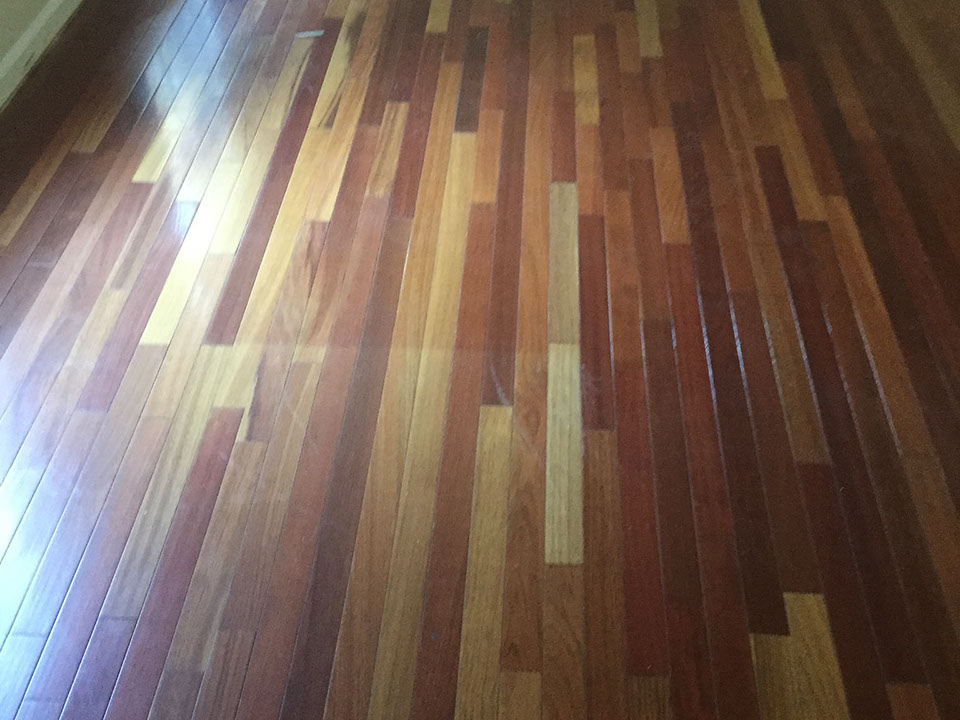
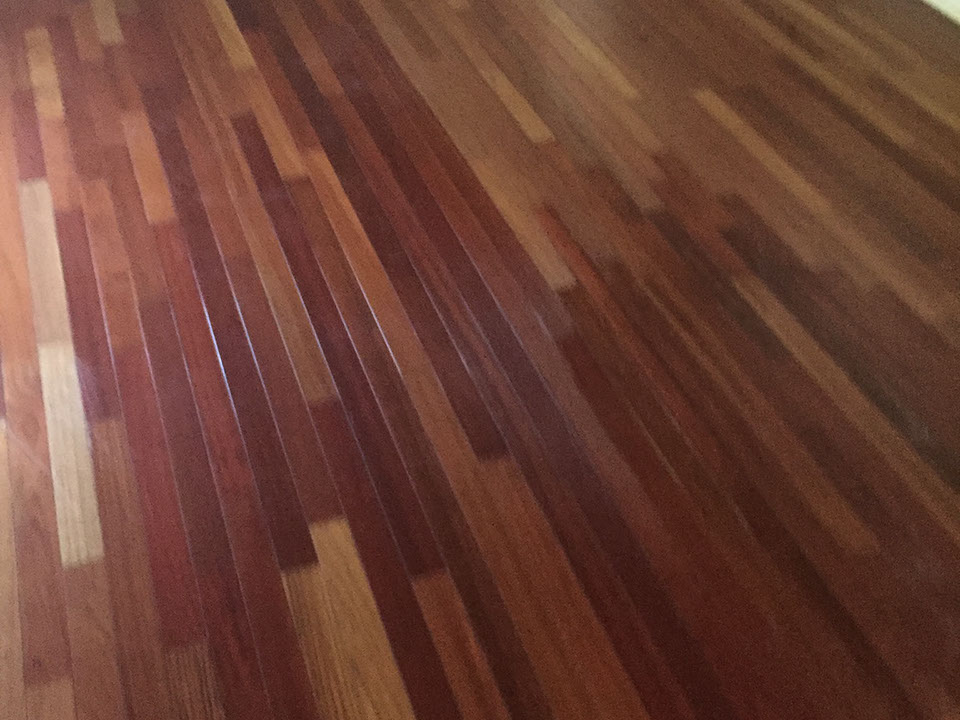
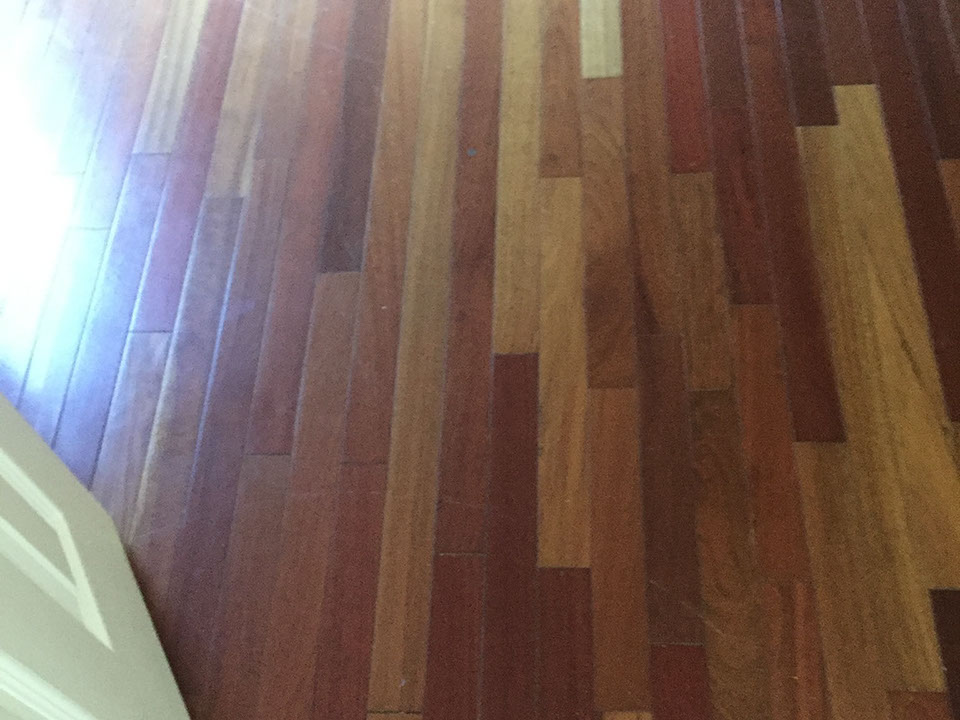
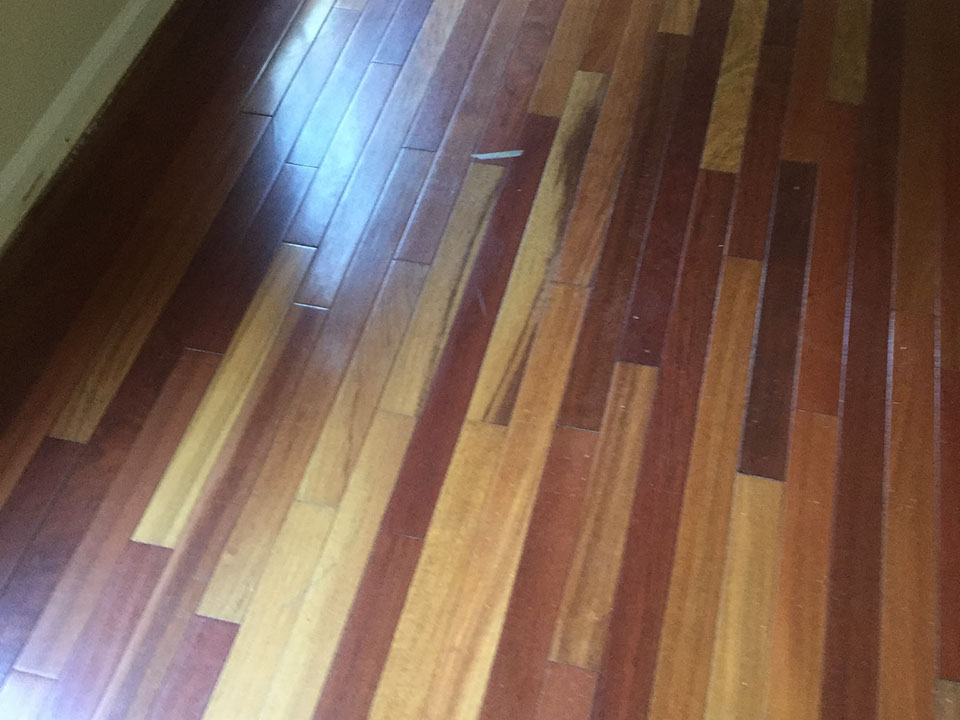
Bringing exotic wood back to life
Bringing exotic wood back to life
Bringing exotic wood back to life
Bringing exotic wood back to life
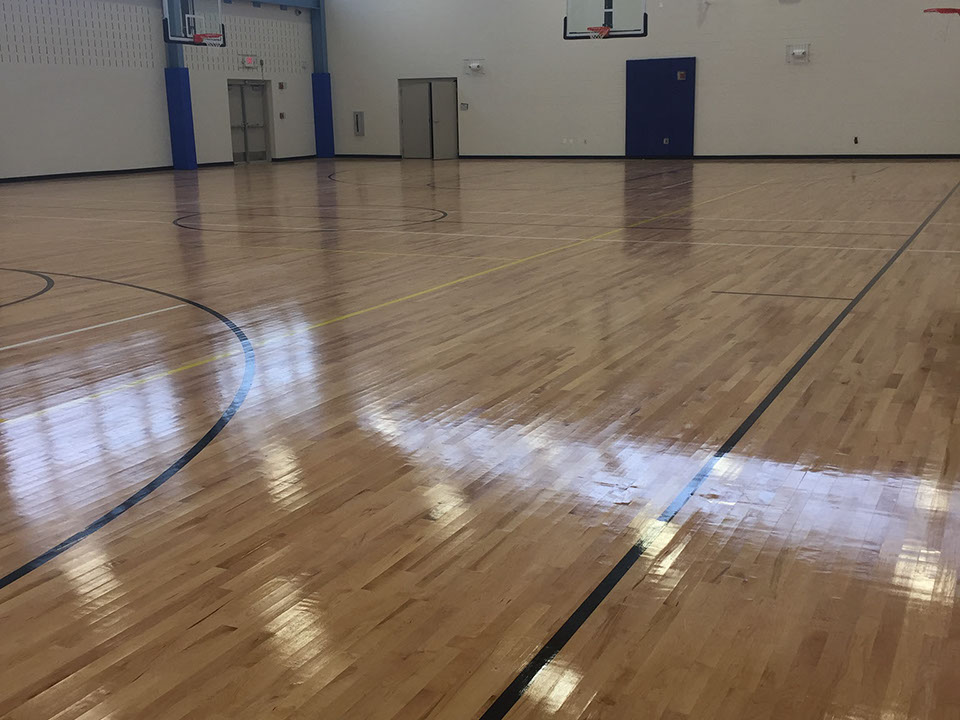
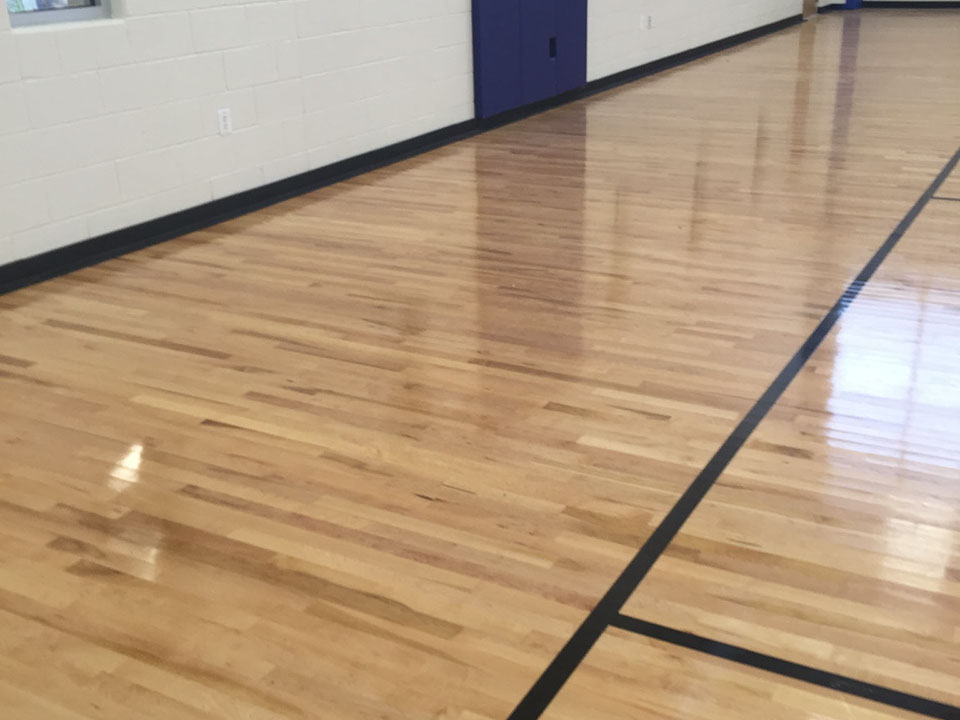
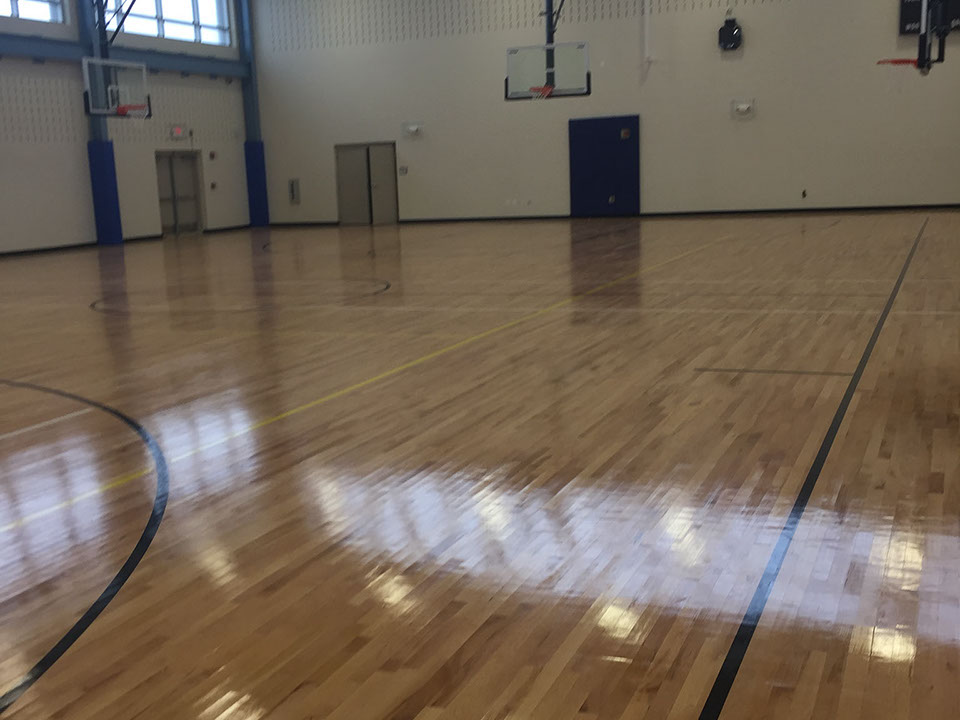
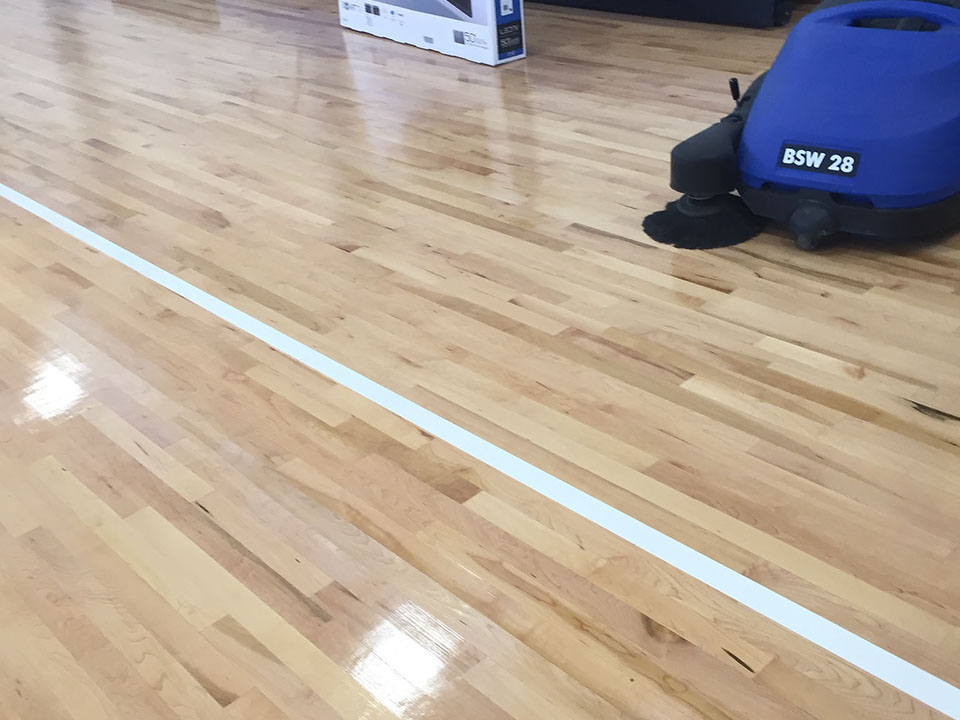
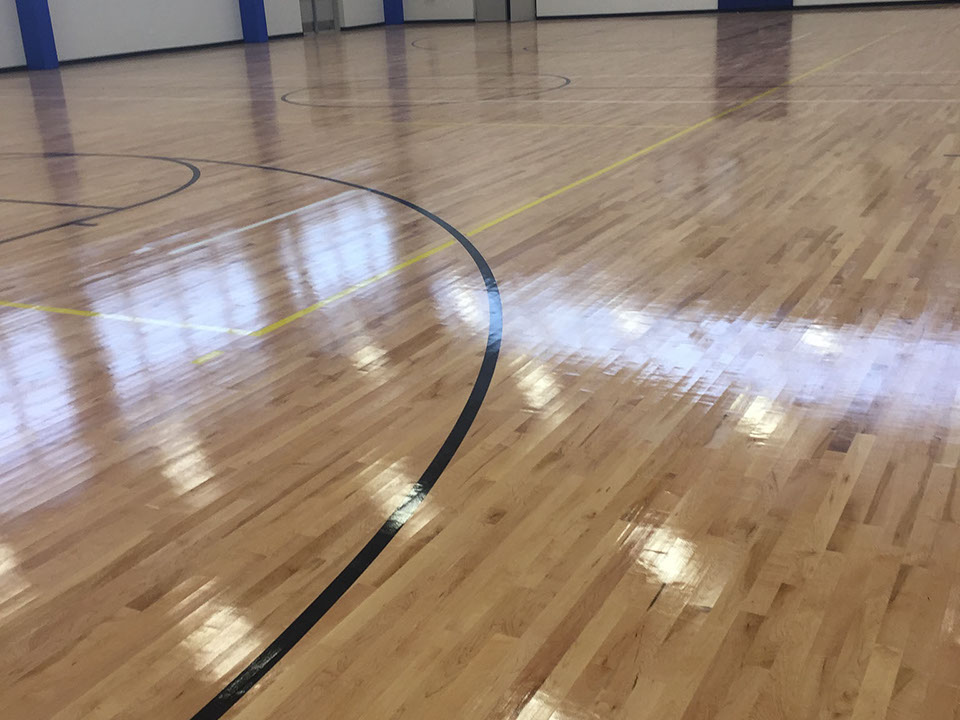
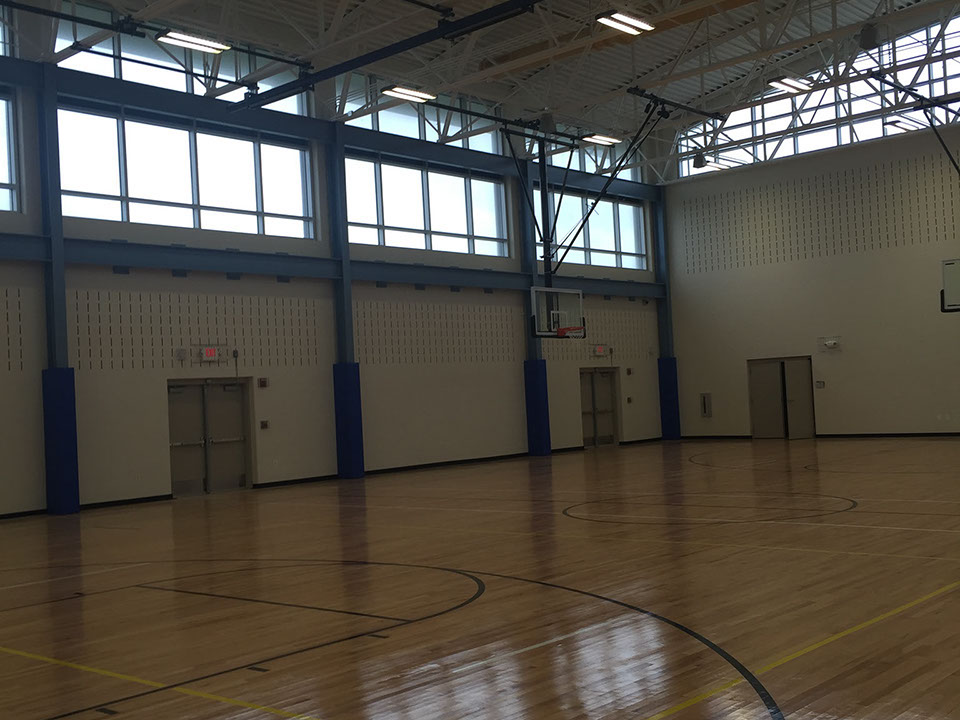
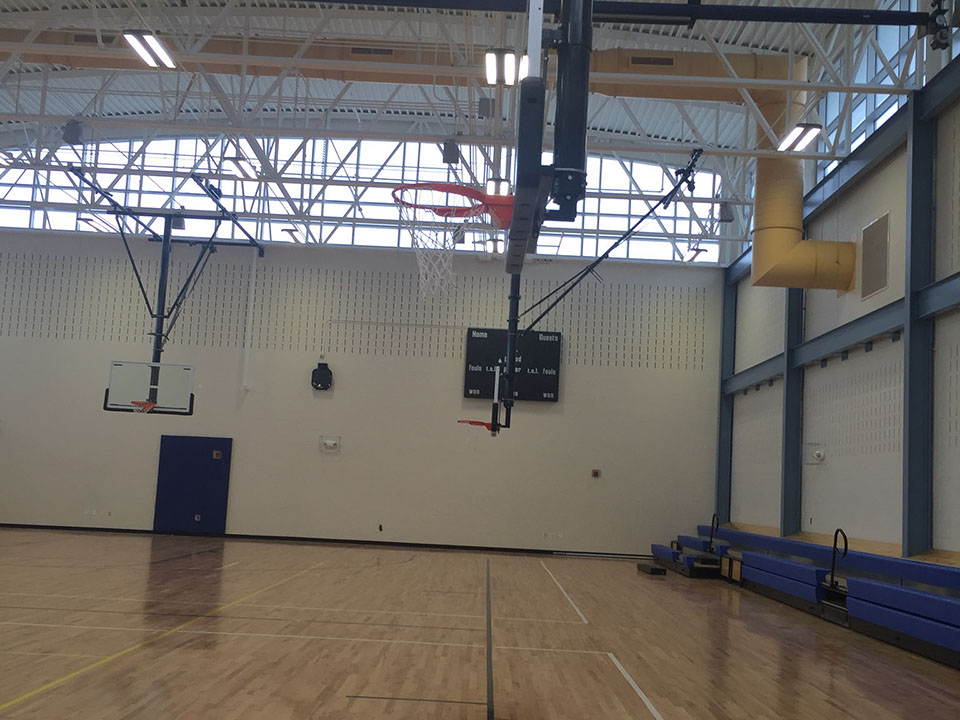
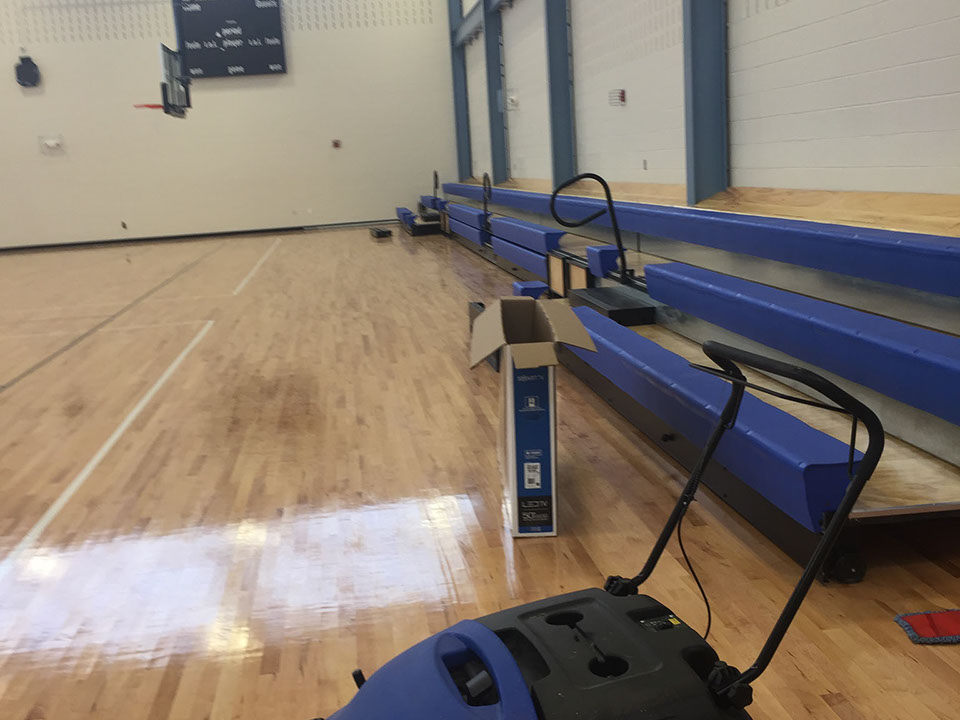
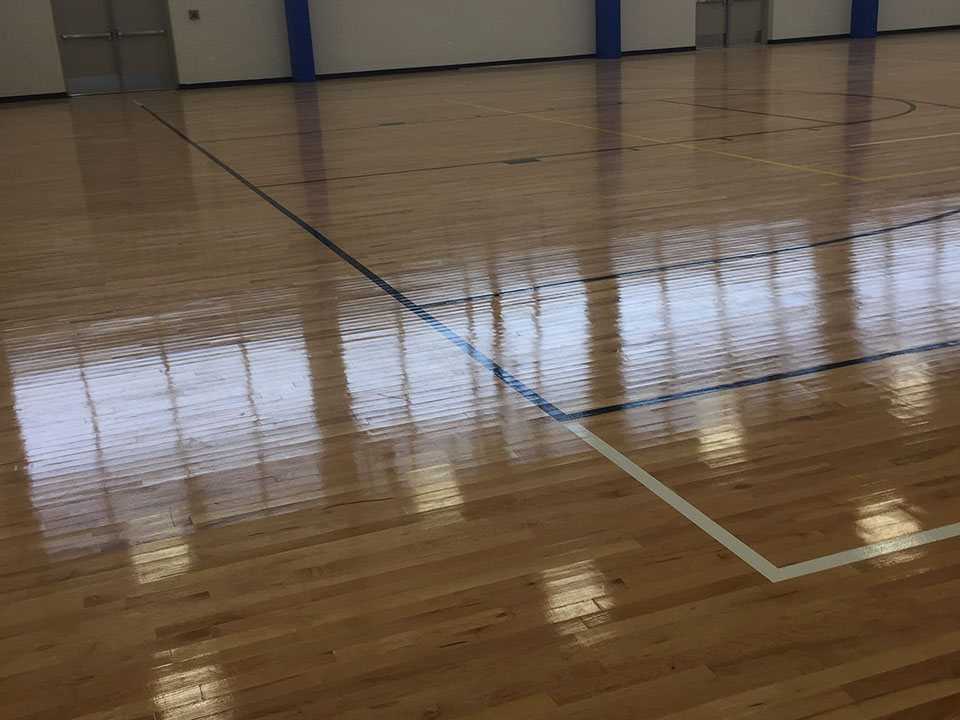
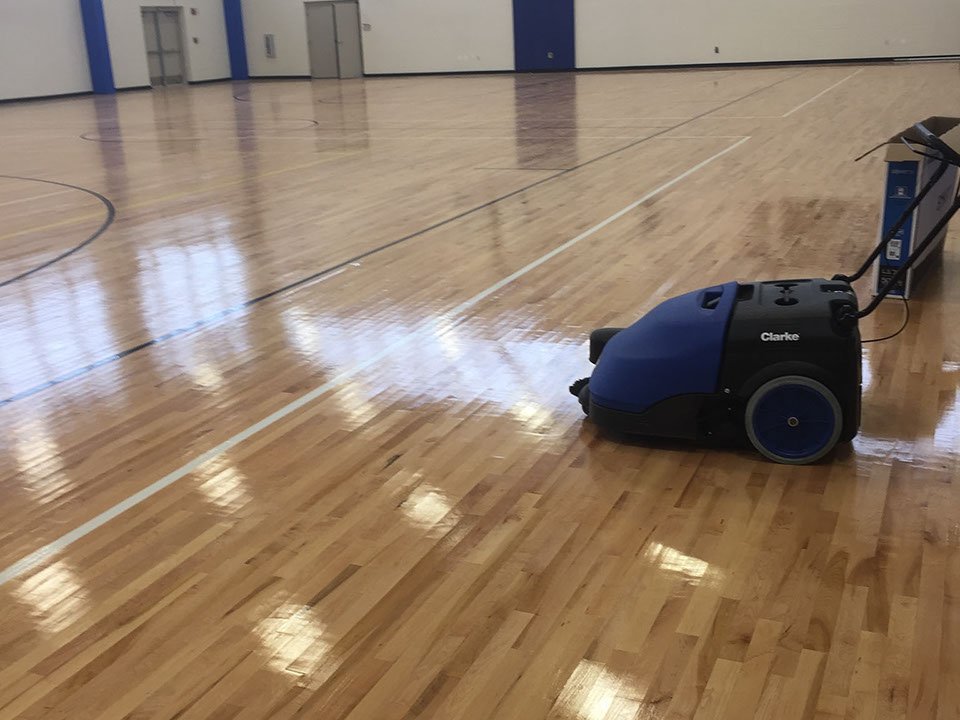
Basket ball court project
Basket ball court project
Basket ball court project
Basket ball court project
Basket ball court project
Basket ball court project
Basket ball court project
Basket ball court project
Basket ball court project
Basket ball court project
Basket ball court project
Basket ball court project
Basket ball court project
Basket ball court project
Basket ball court project
Basket ball court project
Basket ball court project
Basket ball court project
Basket ball court project
Basket ball court project
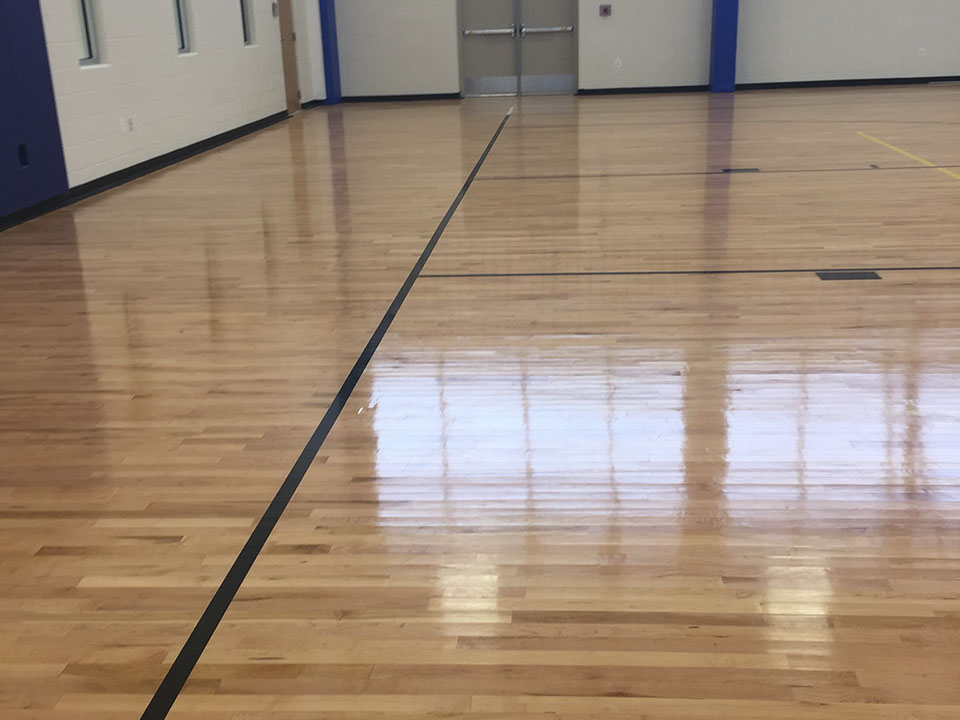
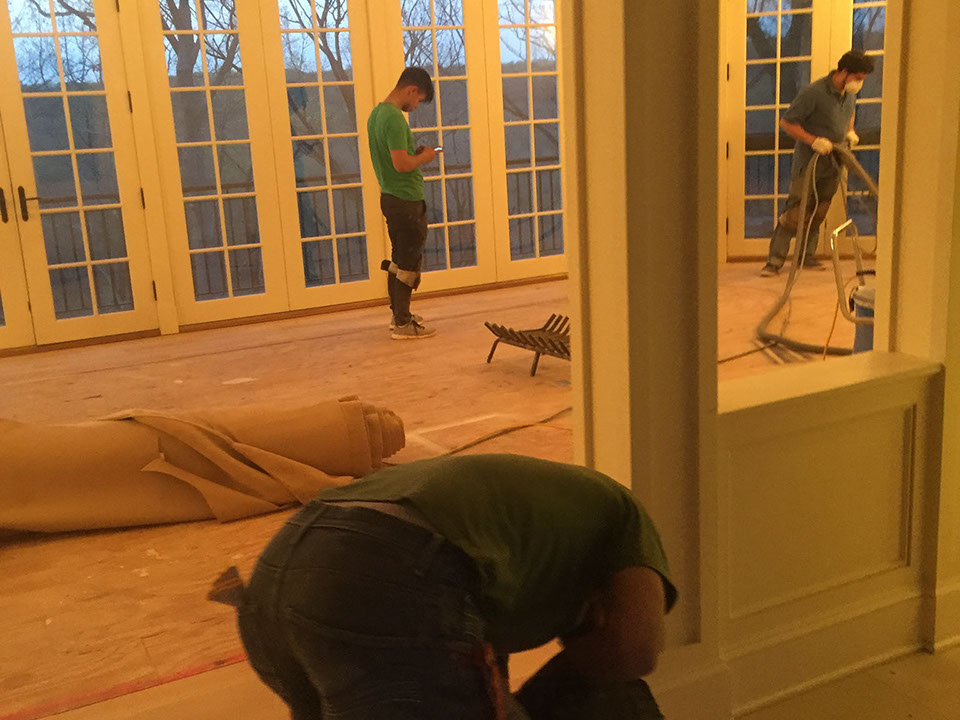
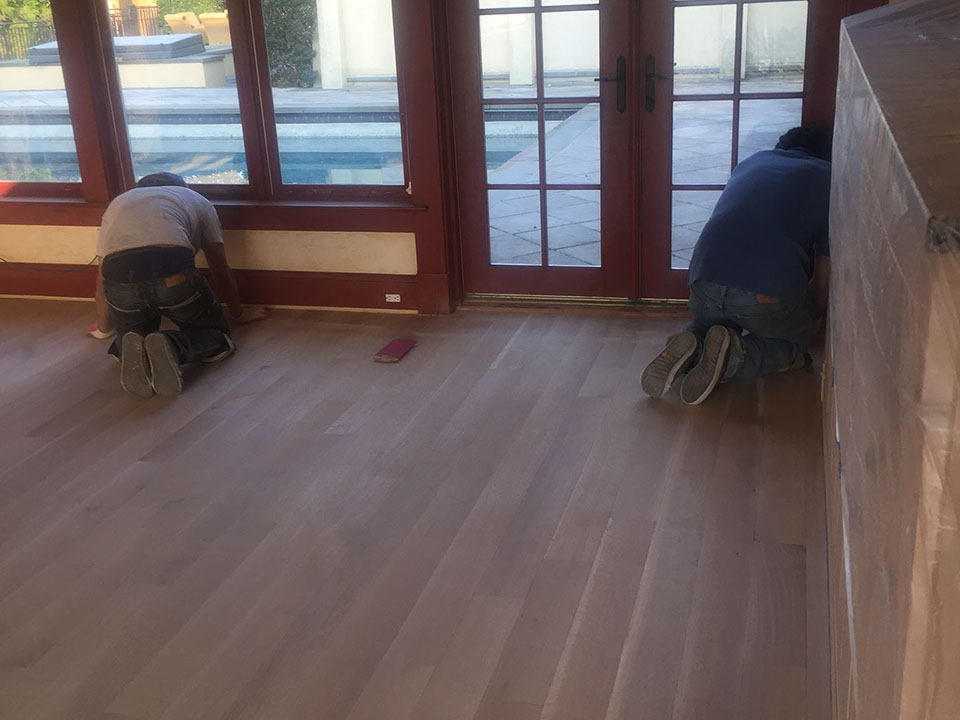
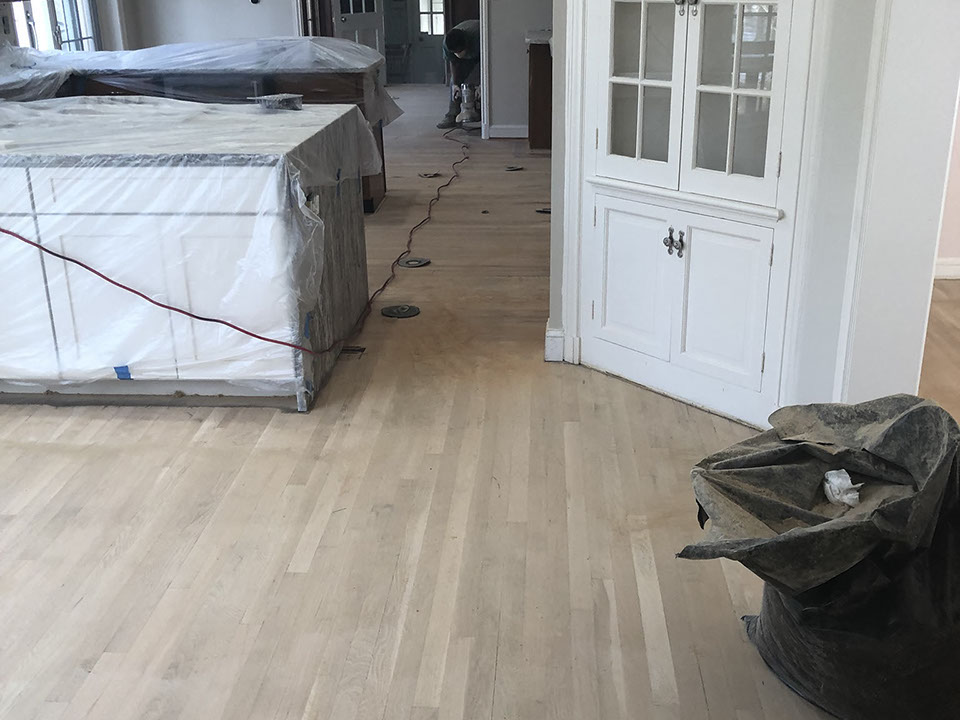
The following few pictures you are about to see was for aprox. 4,640 SqFt floor space plus 20 steps. This project included installation of unfinished wood, sanding and finishing. Then we stained everything all at once. This project required 13 Capitals Flooring crew members to complete.
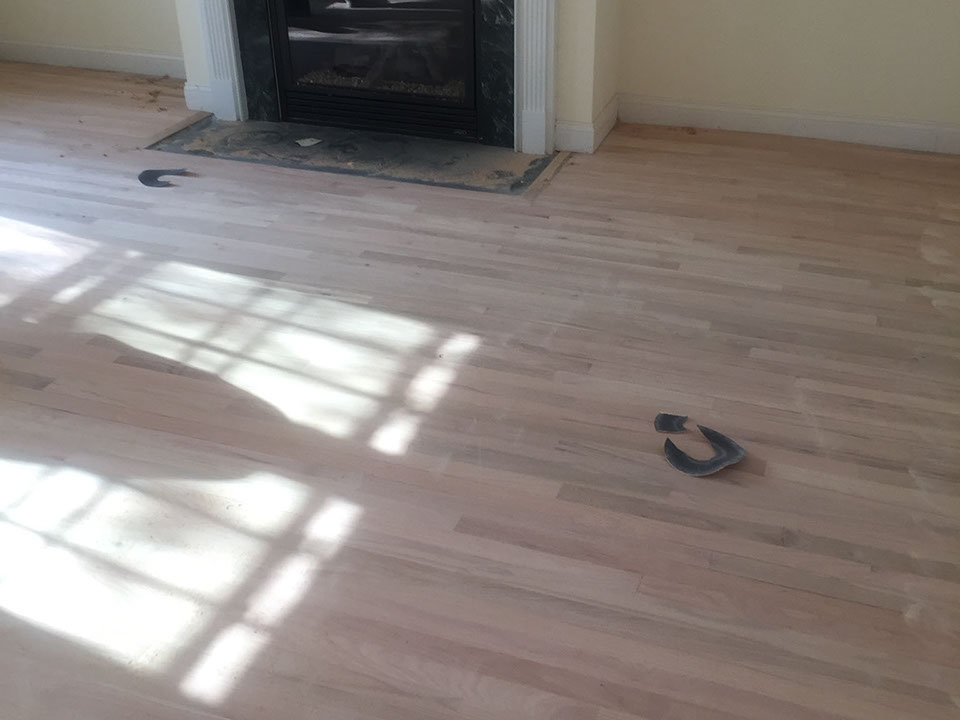
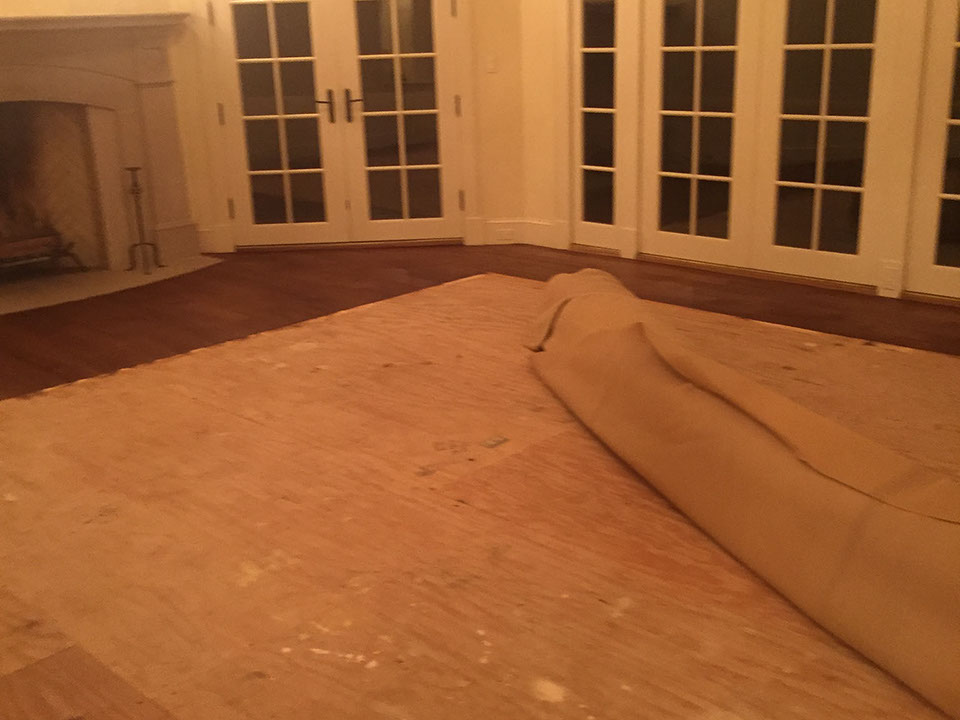
As you can see under the rug it was sub floor not hardwood. That is why we had to install unfinished wood.
As you can see under the rug it was sub floor not hardwood. That is why we had to install unfinished wood.
As you can see under the rug it was sub floor not hardwood. That is why we had to install unfinished wood.
As you can see under the rug it was sub floor not hardwood. That is why we had to install unfinished wood.
As you can see under the rug it was sub floor not hardwood. That is why we had to install unfinished wood.
As you can see under the rug it was sub floor not hardwood. That is why we had to install unfinished wood.
Part of the sanding process.
Part of the sanding process.
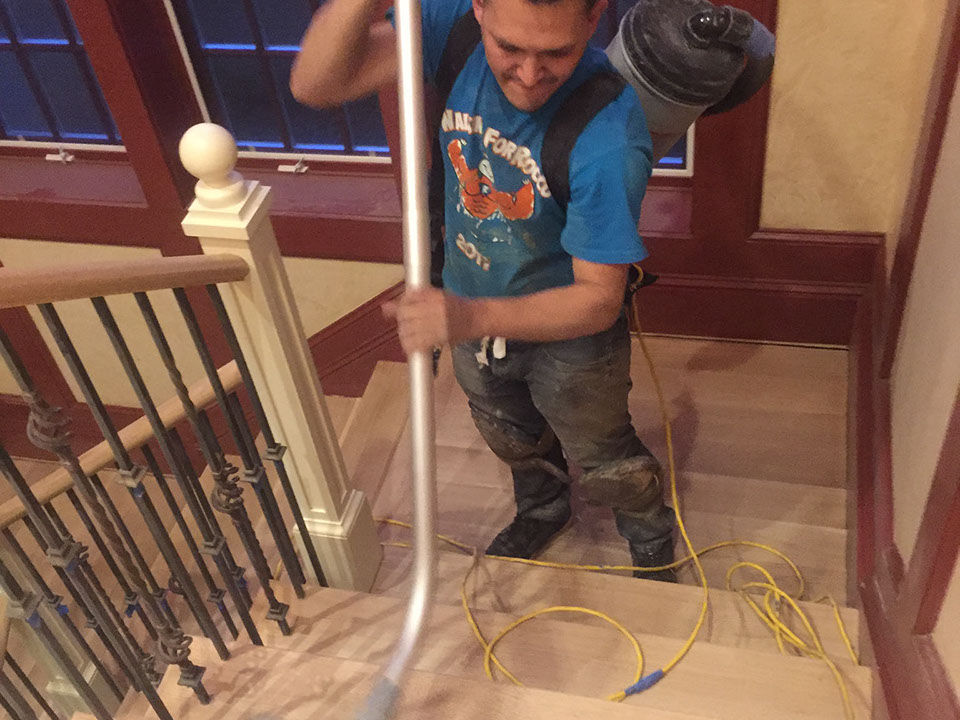
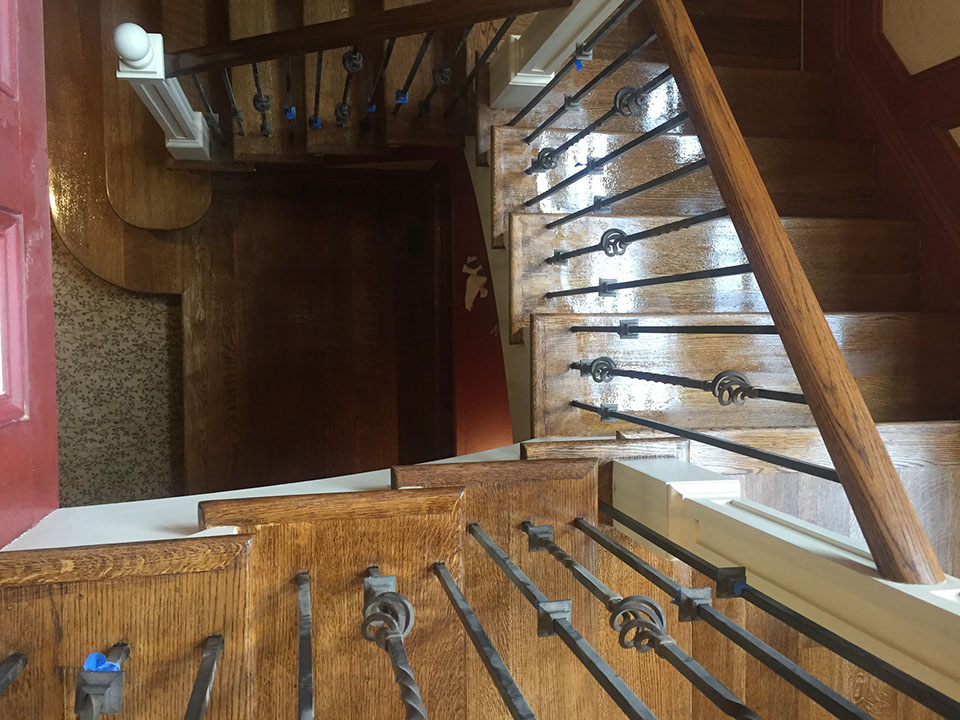
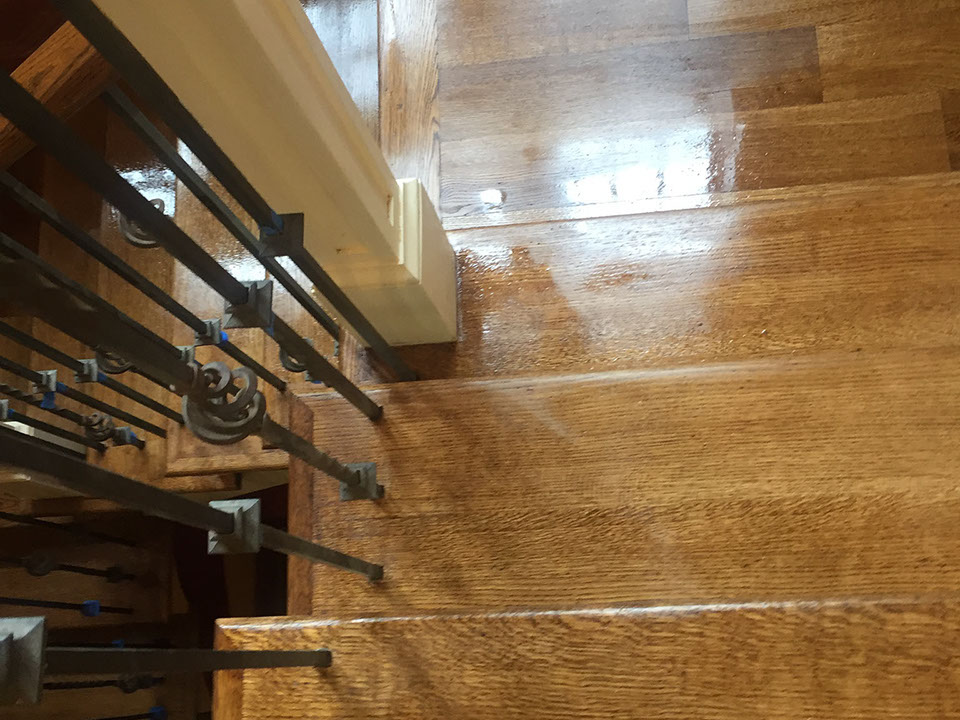
Sanding the steps
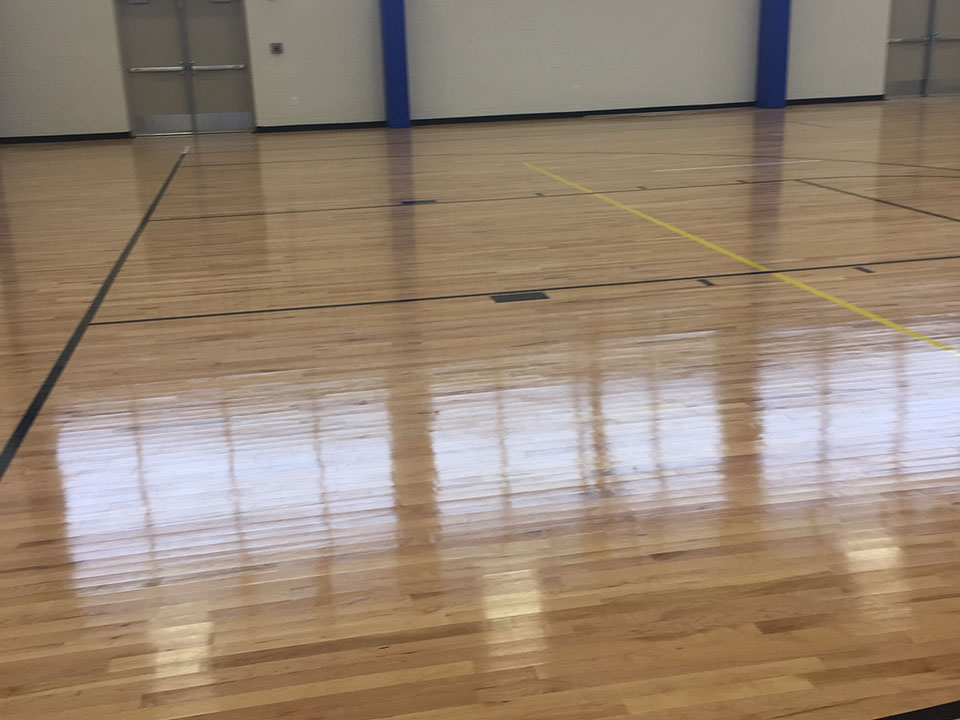
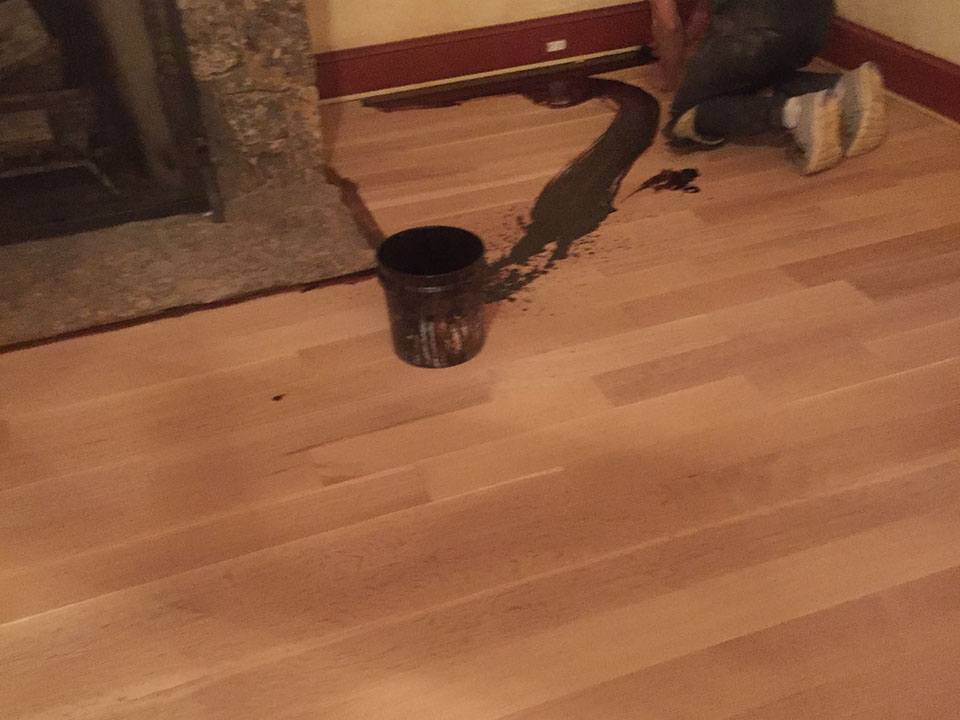
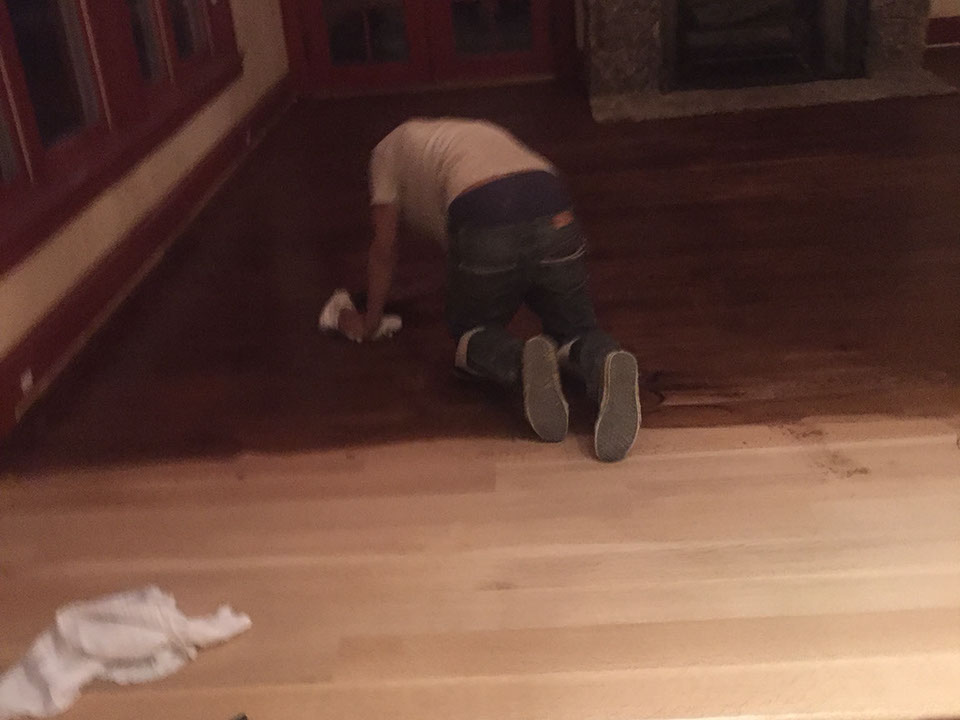
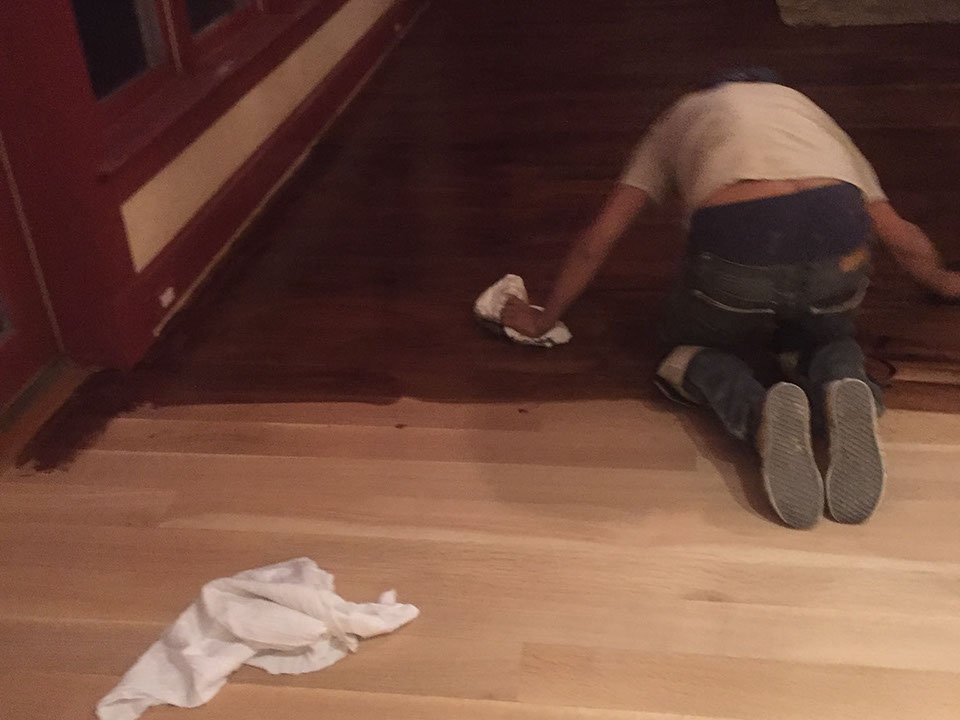
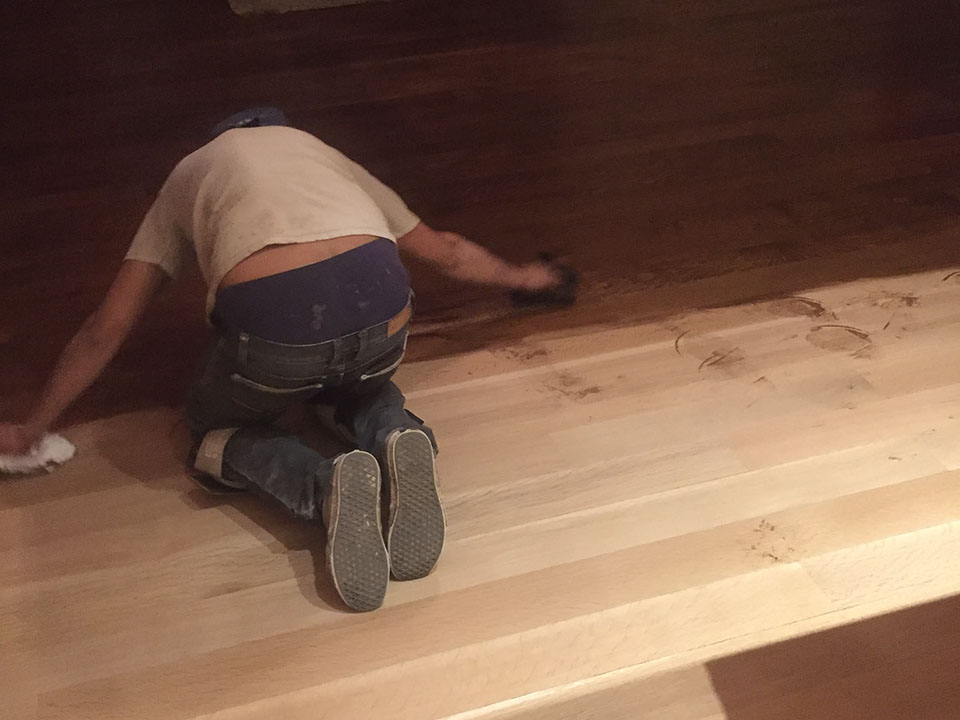
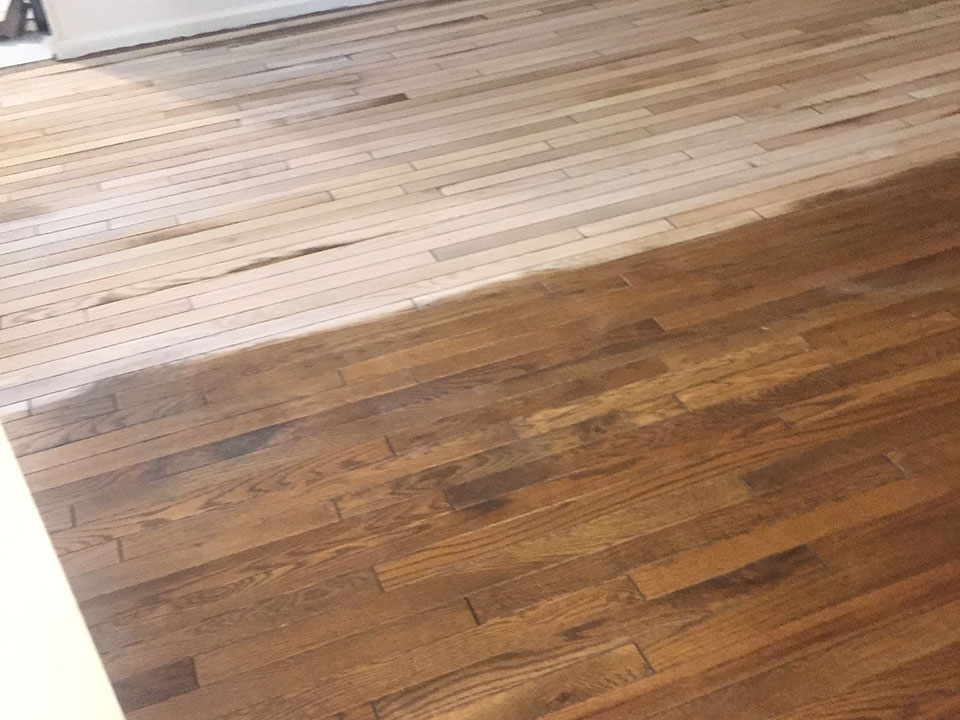
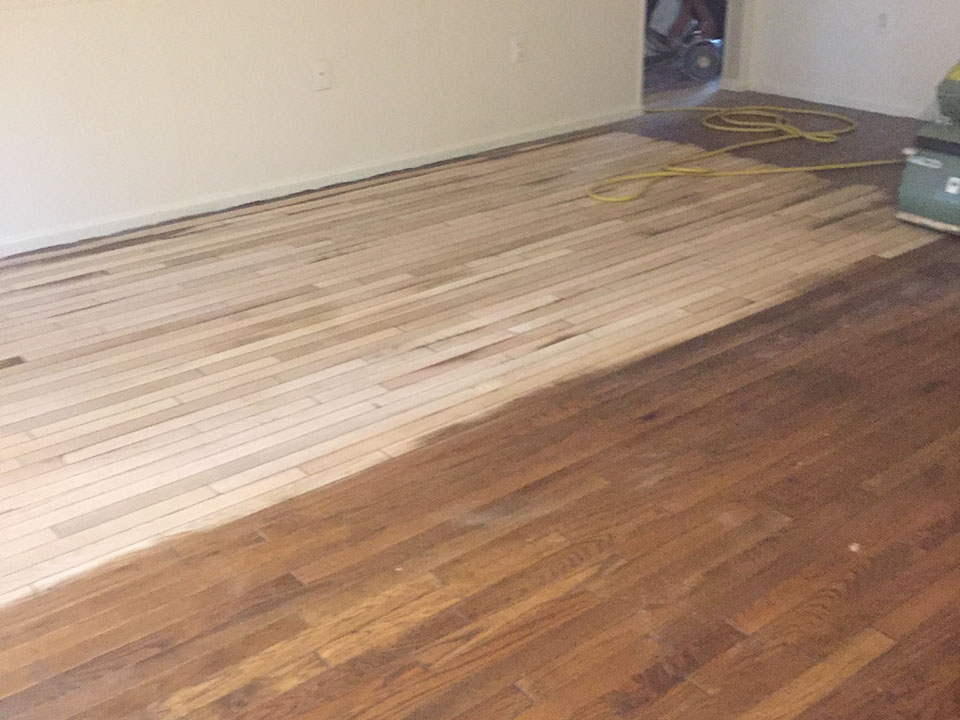
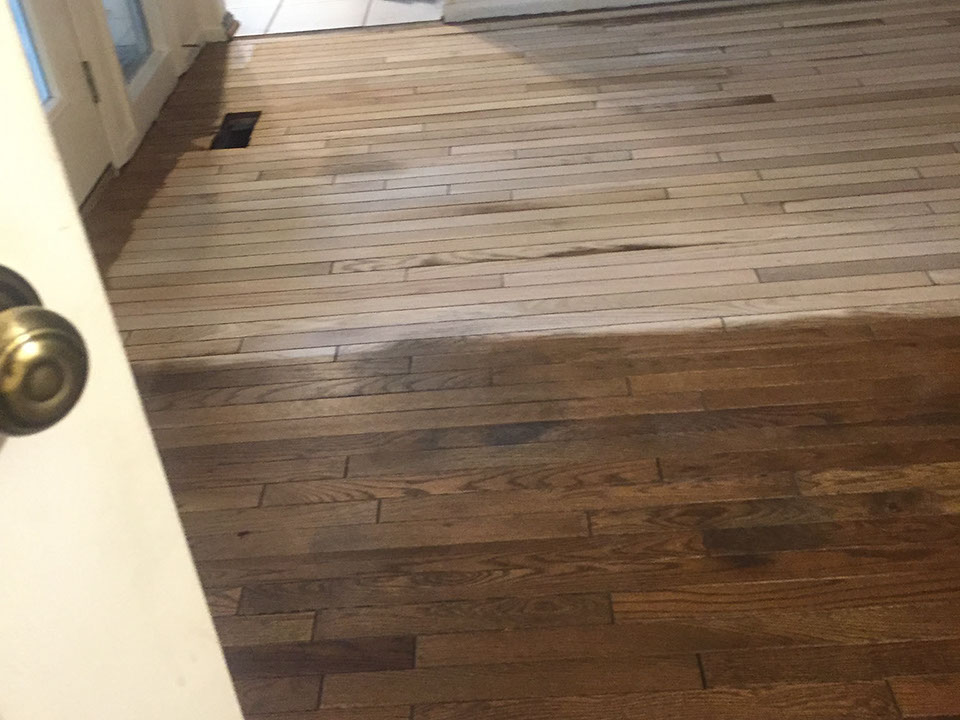
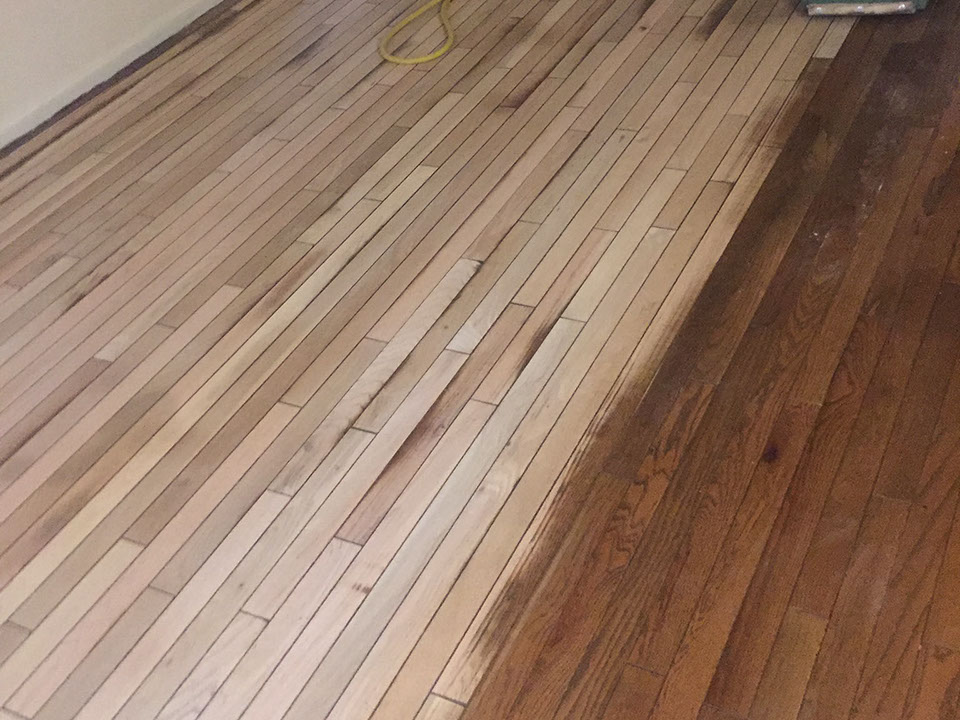
The beginning of the staining process.
The beginning of the staining process.
The beginning of the staining process.
The beginning of the staining process.
The beginning of the staining process.
The beginning of the staining process.
The beginning of the staining process.
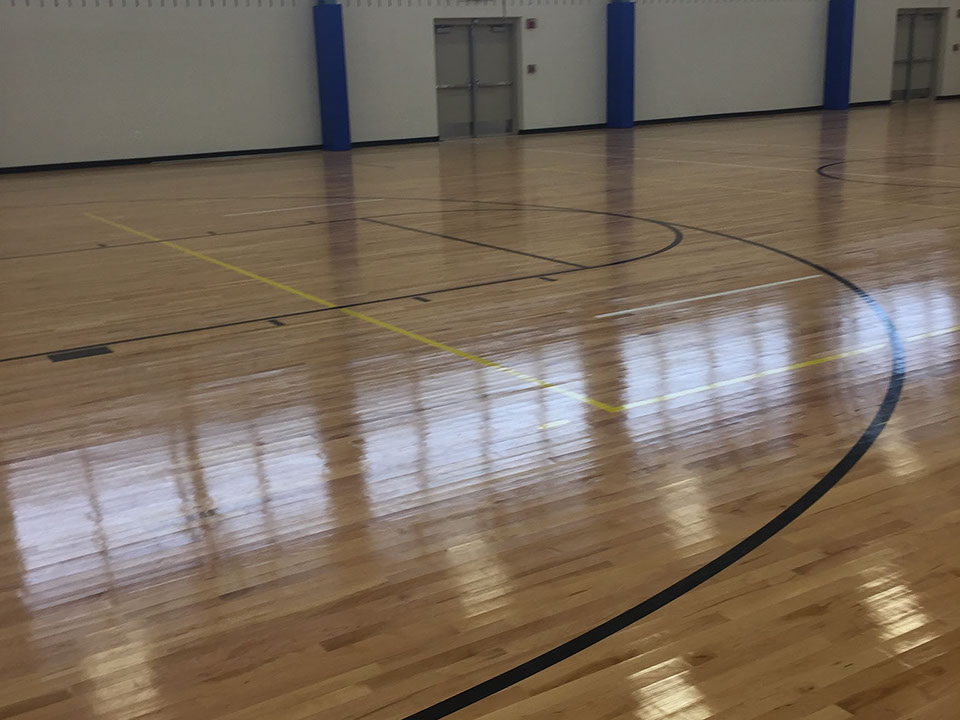
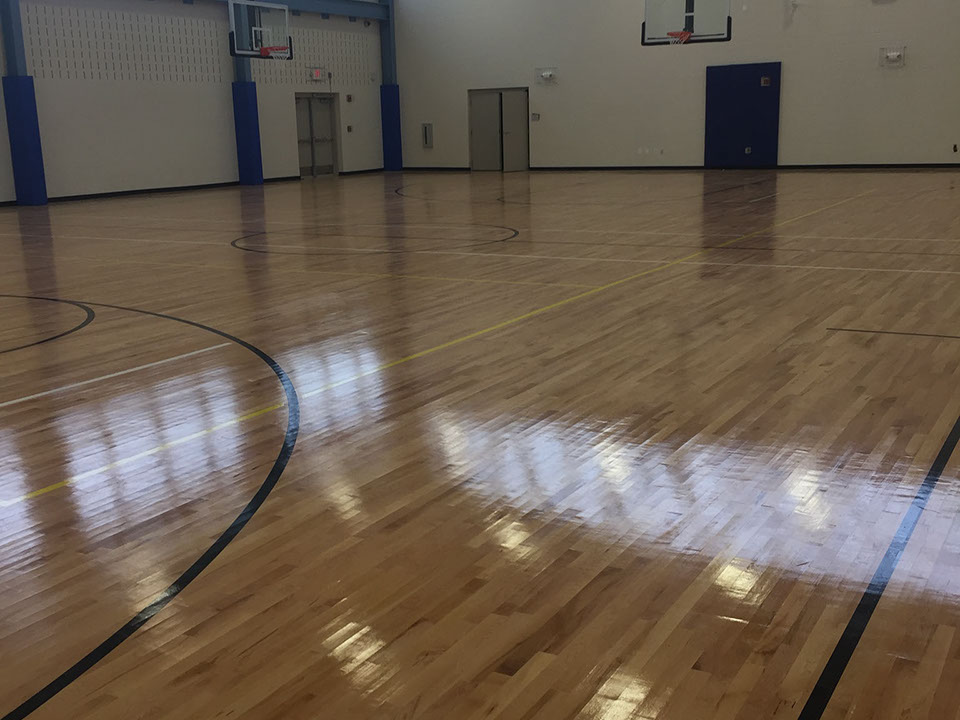
As you can see the coat of poly is still wet
As you can see the coat of poly is still wet
As you can see the coat of poly is still wet
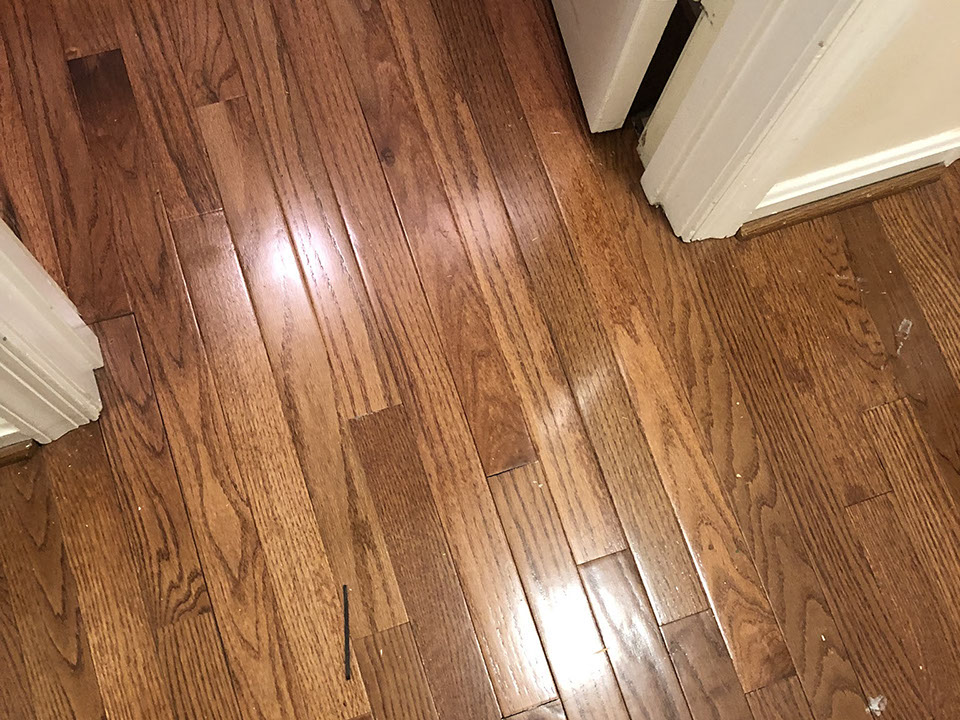
Look how bad the floor looks. That is why Capitals Flooring was called in.
No one touched this floor for 32 years.
No one touched this floor for 32 years.
No one touched this floor for 32 years.
No one touched this floor for 32 years.
No one touched this floor for 32 years.
No one touched this floor for 32 years.
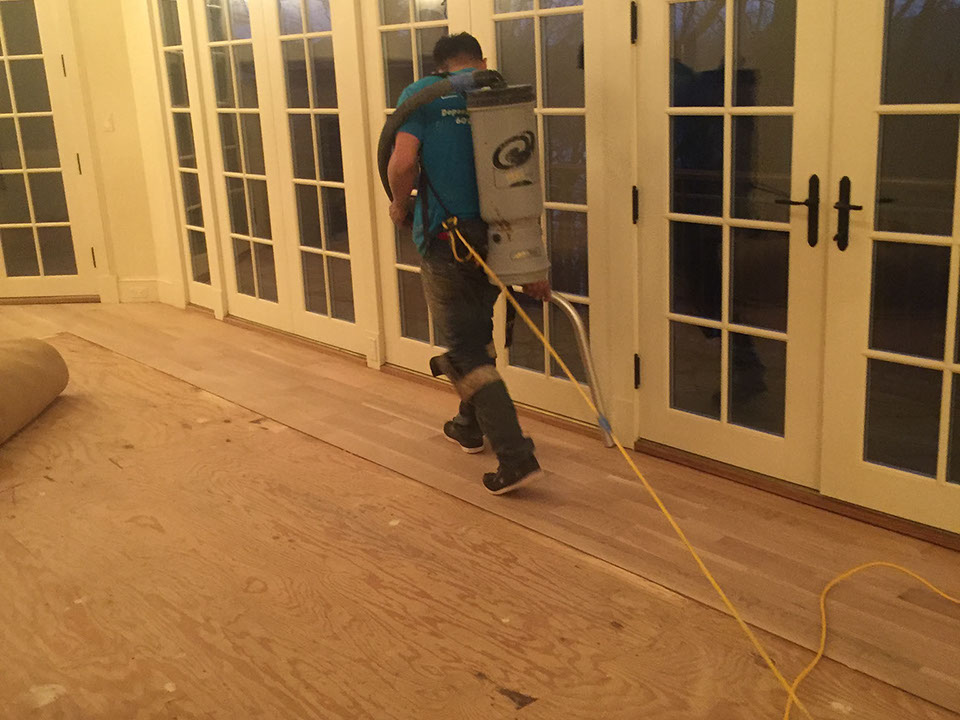
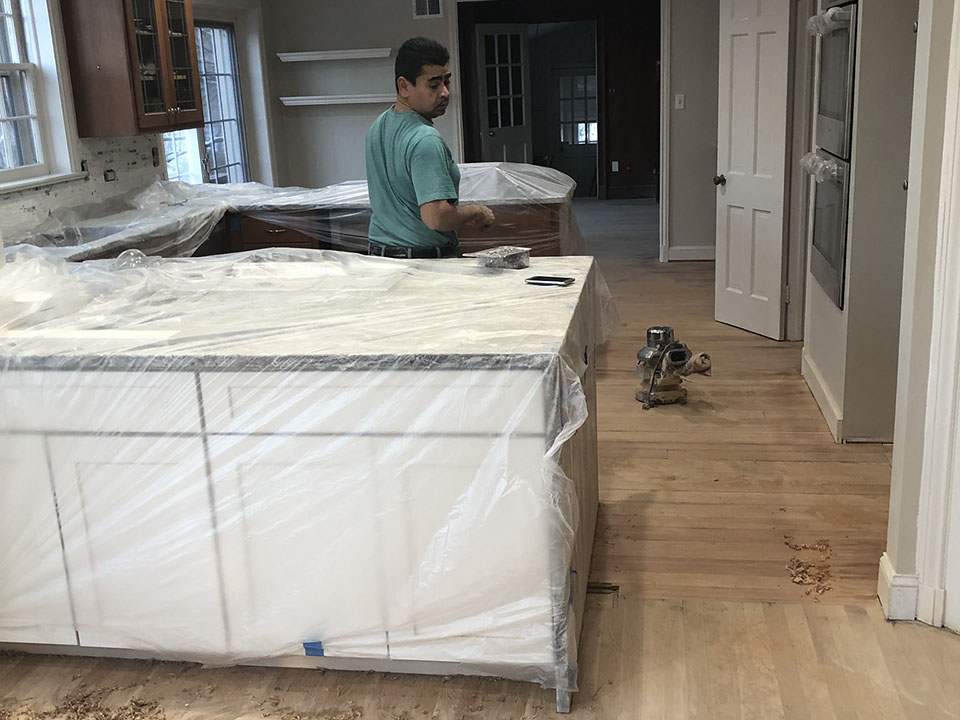
One of the sanding machines that we use. 100% dust free
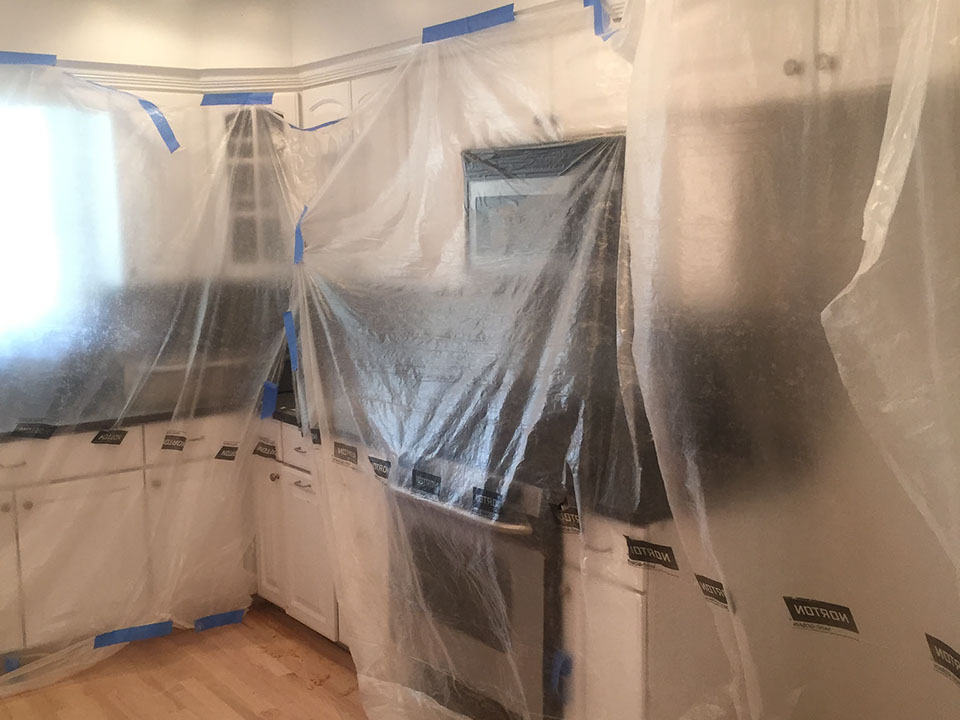
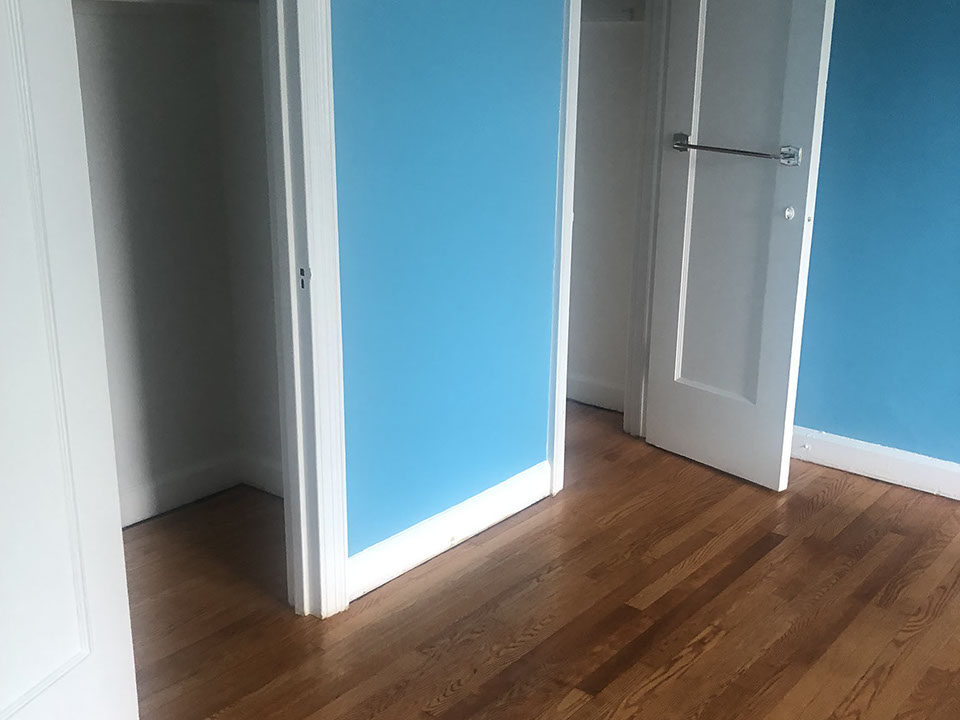
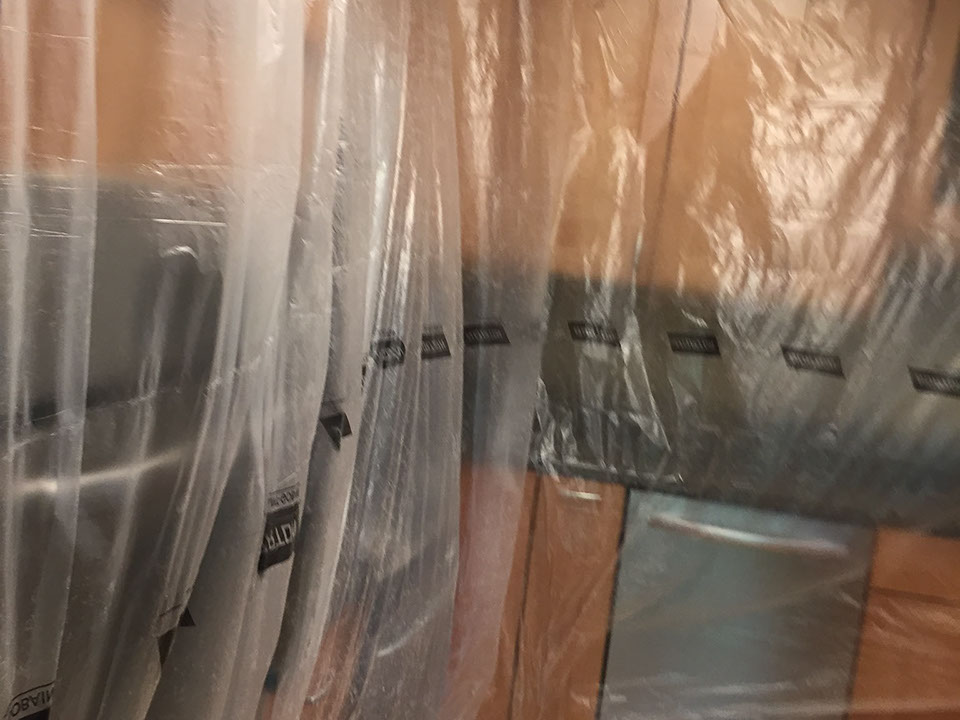
Sealing off other rooms
Sealing off other rooms
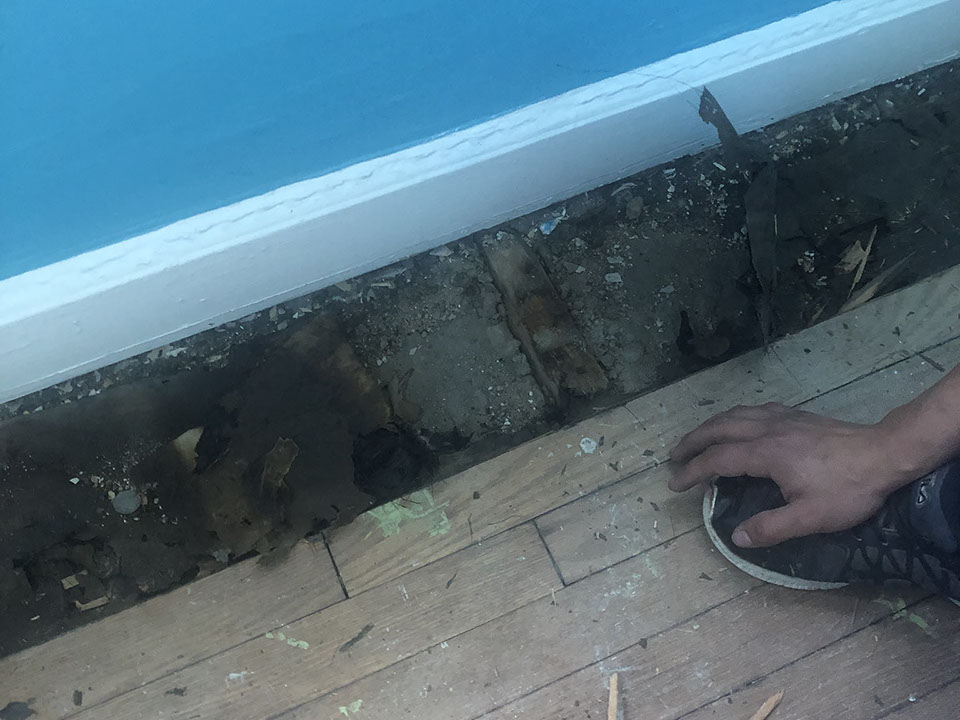
Water damage, the wood had to be replaced in the severely damaged areas
of the room
Closer picture of the damaged area
Closer picture of the damaged area
Removal of the water damaged wood.
Removal of the water damaged wood.
Removal of the water damaged wood.
Removal of the water damaged wood.
Removal of the water damaged wood.
You can see the extent of the damage.
You can see the extent of the damage.
You can see the extent of the damage.
You can see the extent of the damage.
You can see the extent of the damage.
You can see the extent of the damage.
You can see the extent of the damage.
The sanding process has started.
The sanding process has started.
The sanding process has started.
As you can see the wood has been sanded
As you can see the wood has been sanded
The work is in progress
As you can see the damaged wood has been has been replaced with new unfinished wood.
As you can see the damaged wood has been has been replaced with new unfinished wood.
As you can see the damaged wood has been has been replaced with new unfinished wood.
Starting to stain
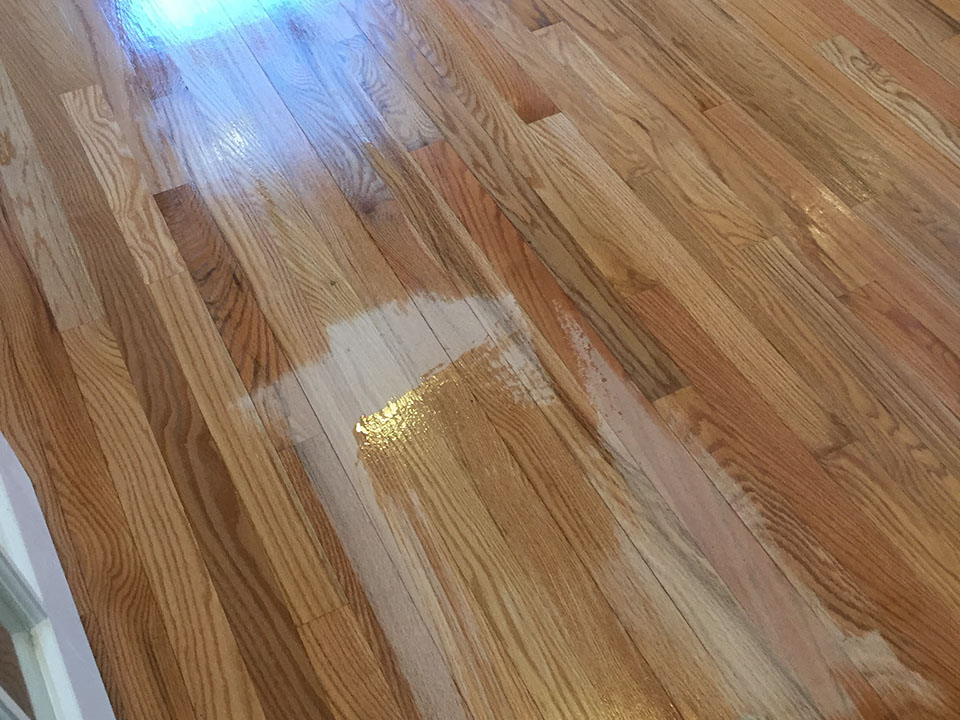
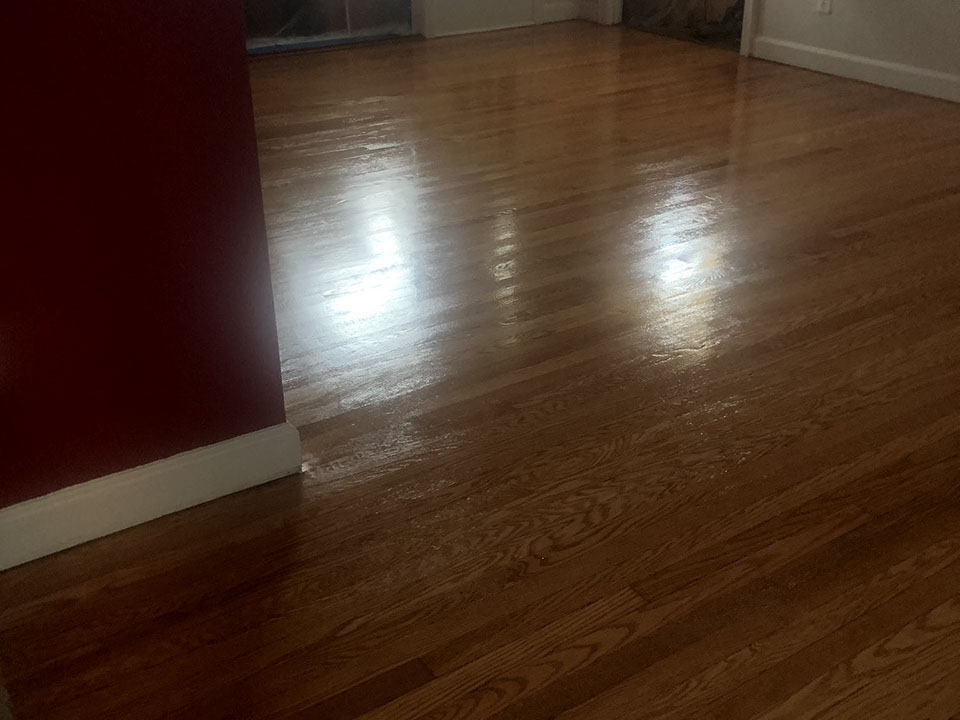
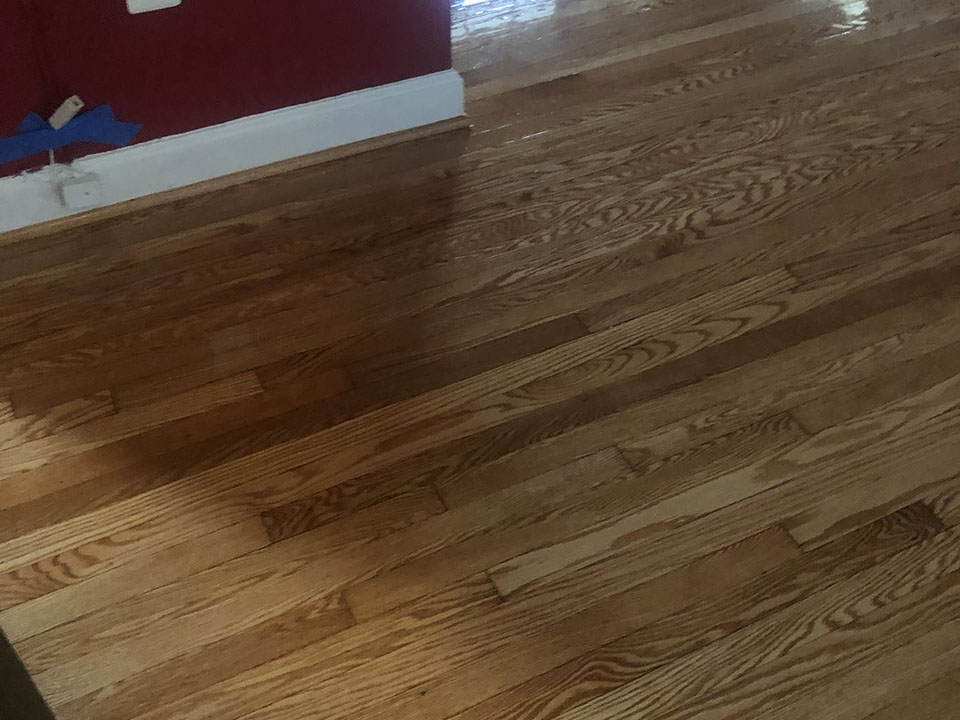
This is how the floor looks after applying the first coat of poly and the floor is still wet.
This is how the floor looks after applying the first coat of poly and the floor is still wet.
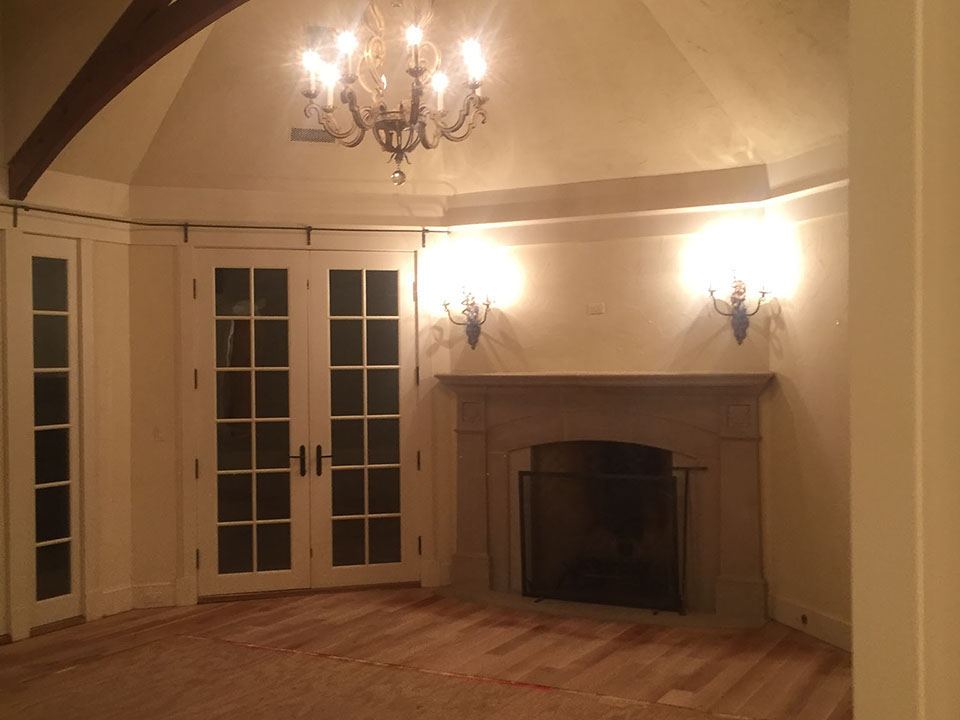
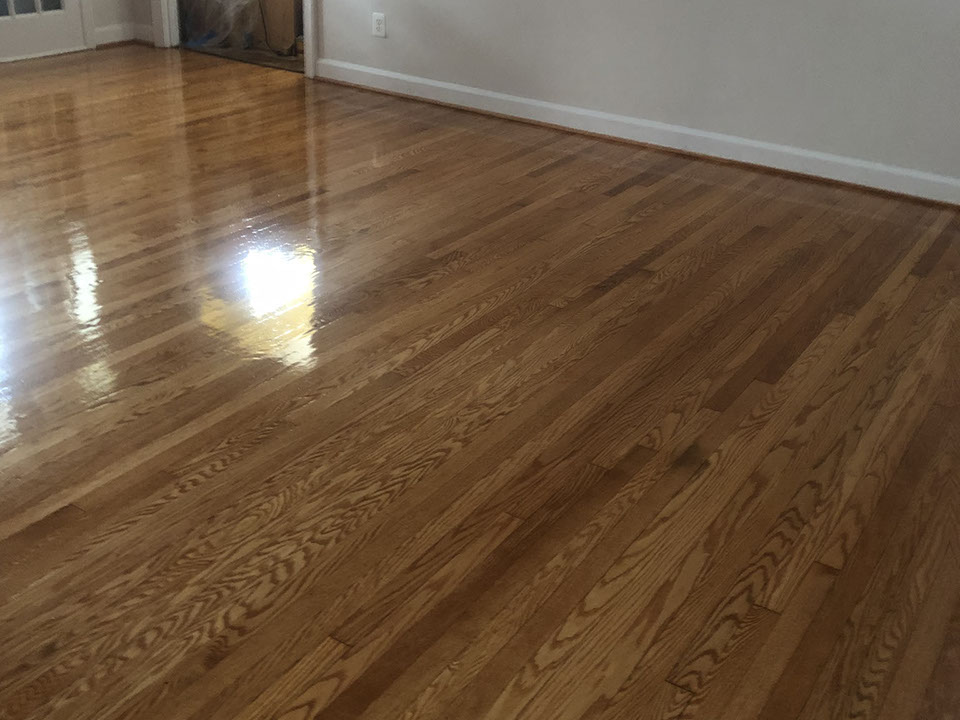
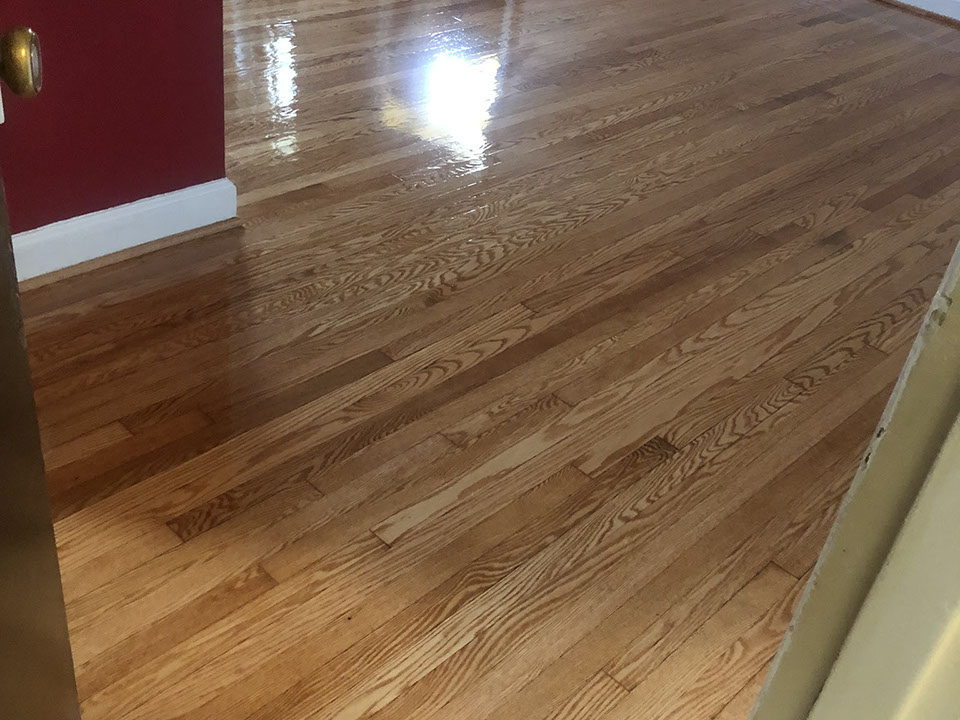
This how the floor looks the next day after it is dry.
This how the floor looks the next day after it is dry.
This how the floor looks the next day after it is dry.
This how the floor looks the next day after it is dry.
Now the floor is ready for the screening process.
Now the floor is ready for the screening process.
Wet floor but the picture is not clear enough
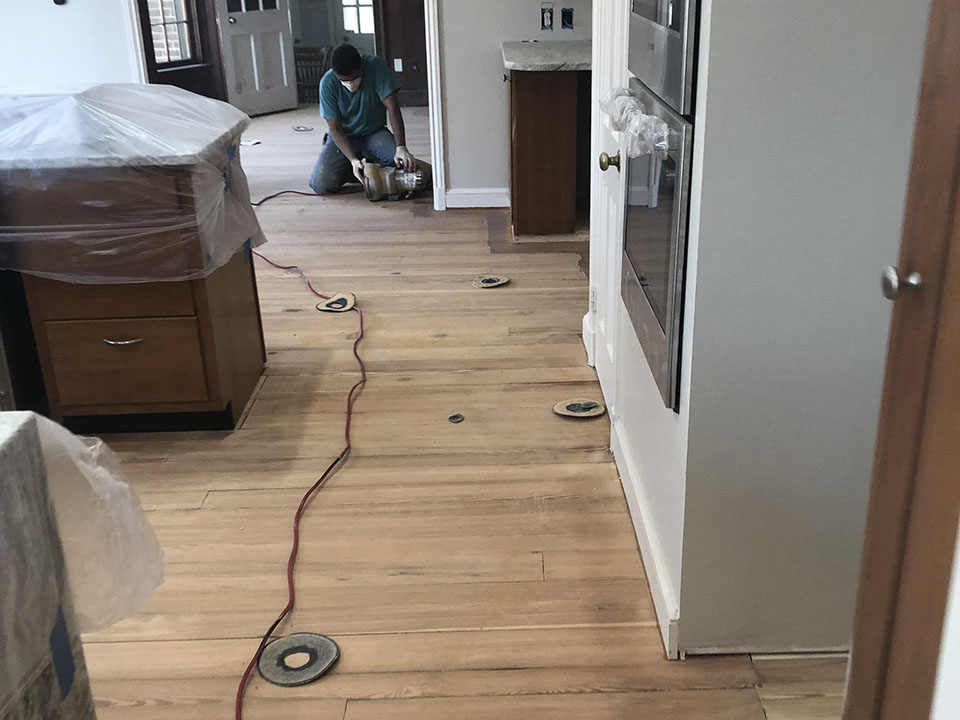
Still working on the floor
There was a lot of squeak on the floor, that is why we had to take up and dispose all the wood, screw down the sub-floor to the joists of the house.
There was a lot of squeak on the floor, that is why we had to take up and dispose all the wood, screw down the sub-floor to the joists of the house.
There was a lot of squeak on the floor, that is why we had to take up and dispose all the wood, screw down the sub-floor to the joists of the house.
Part of the sanding process
Part of the sanding process
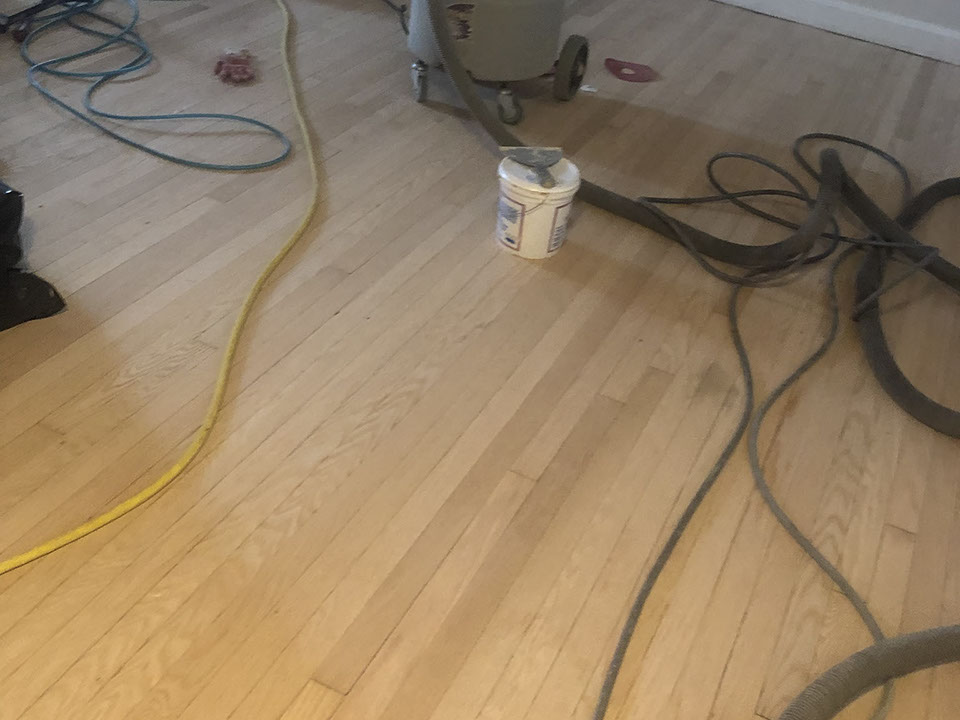
Now we are vacuuming.
The staining process has began.
The staining process has began.
The staining process has began.
The staining process has began.
Different part of the same house
Staining in progress
Installation of Hardwood.
Wood that has been restored
Wet floor
Wet floor.
Staining process.
Staining process.
Staining process.
Staining process.
Staining process.
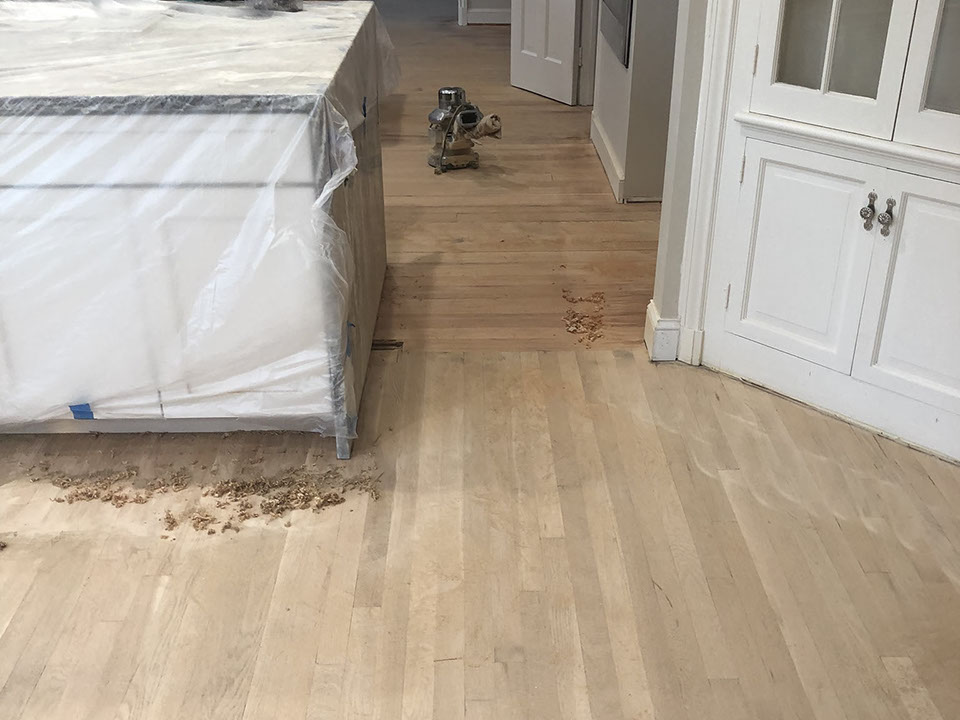
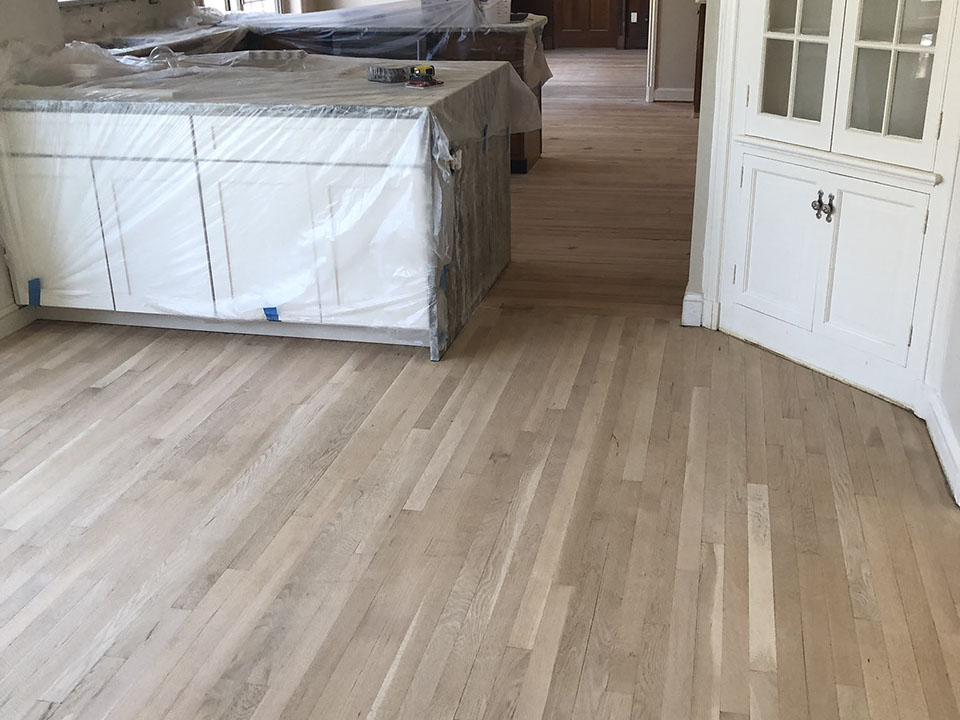
Floor sanded to the bare wood.
Floor sanded to the bare wood.
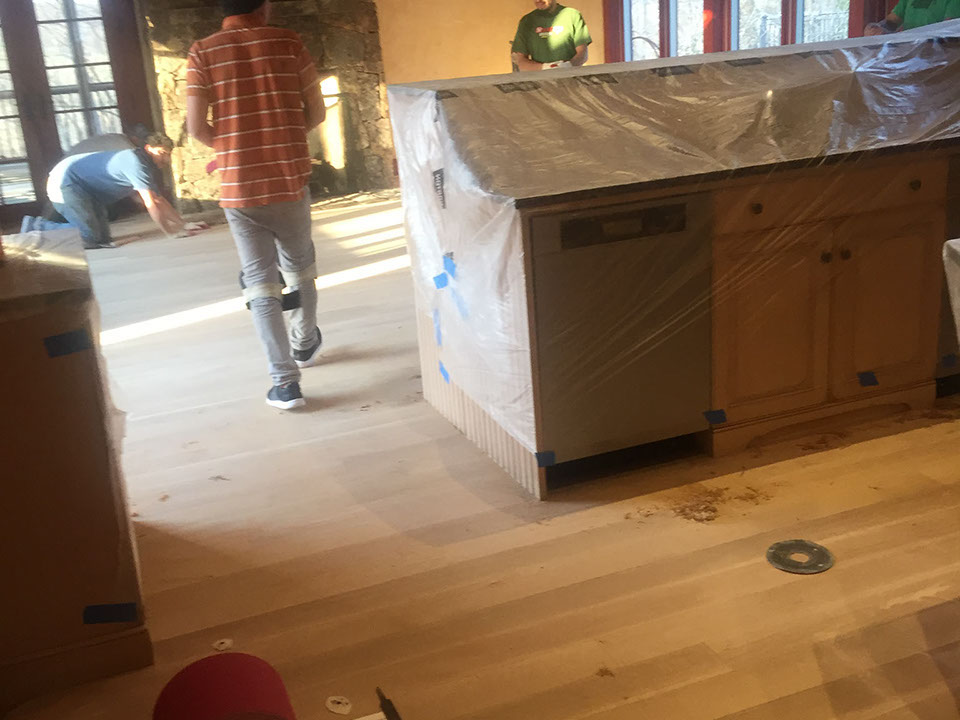
Kitchen cabinets covered
Kitchen cabinets covered
Kitchen cabinets covered
Kitchen cabinets covered
Part of the work being done on other parts of the house.
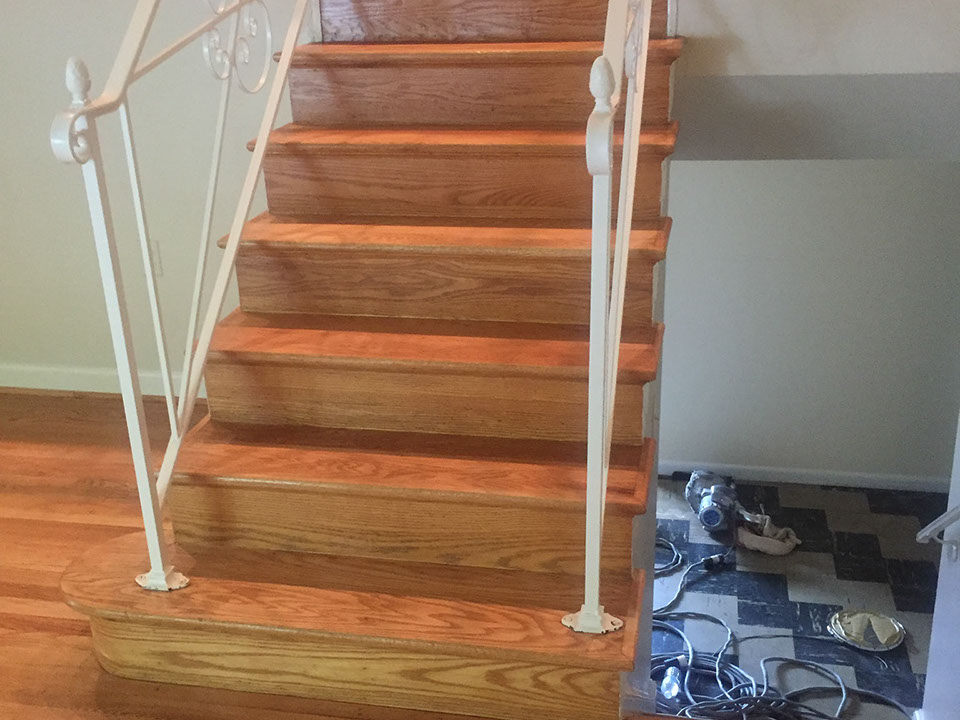
Another set of box steps in a different part of the house.
Sanded wood
Sanded wood
Sanding process
Sanded wood
Sanded wood
Sanded wood
Sanded wood
Sanded wood, cleaning and vacuuming process is about to begin.
Clean sanded wood
Clean sanded wood
Capitals Flooring is about to start applying wood filler to certain parts of the floor.
Before we start to apply the wood filler.
After applying the wood filler.
Before applying the wood filler.
<
166 - 166
>
Here you are about to see pictures before during and after